Worn Hardwood Gets a Full Sand, Stain and LVT Bathroom Upgrade
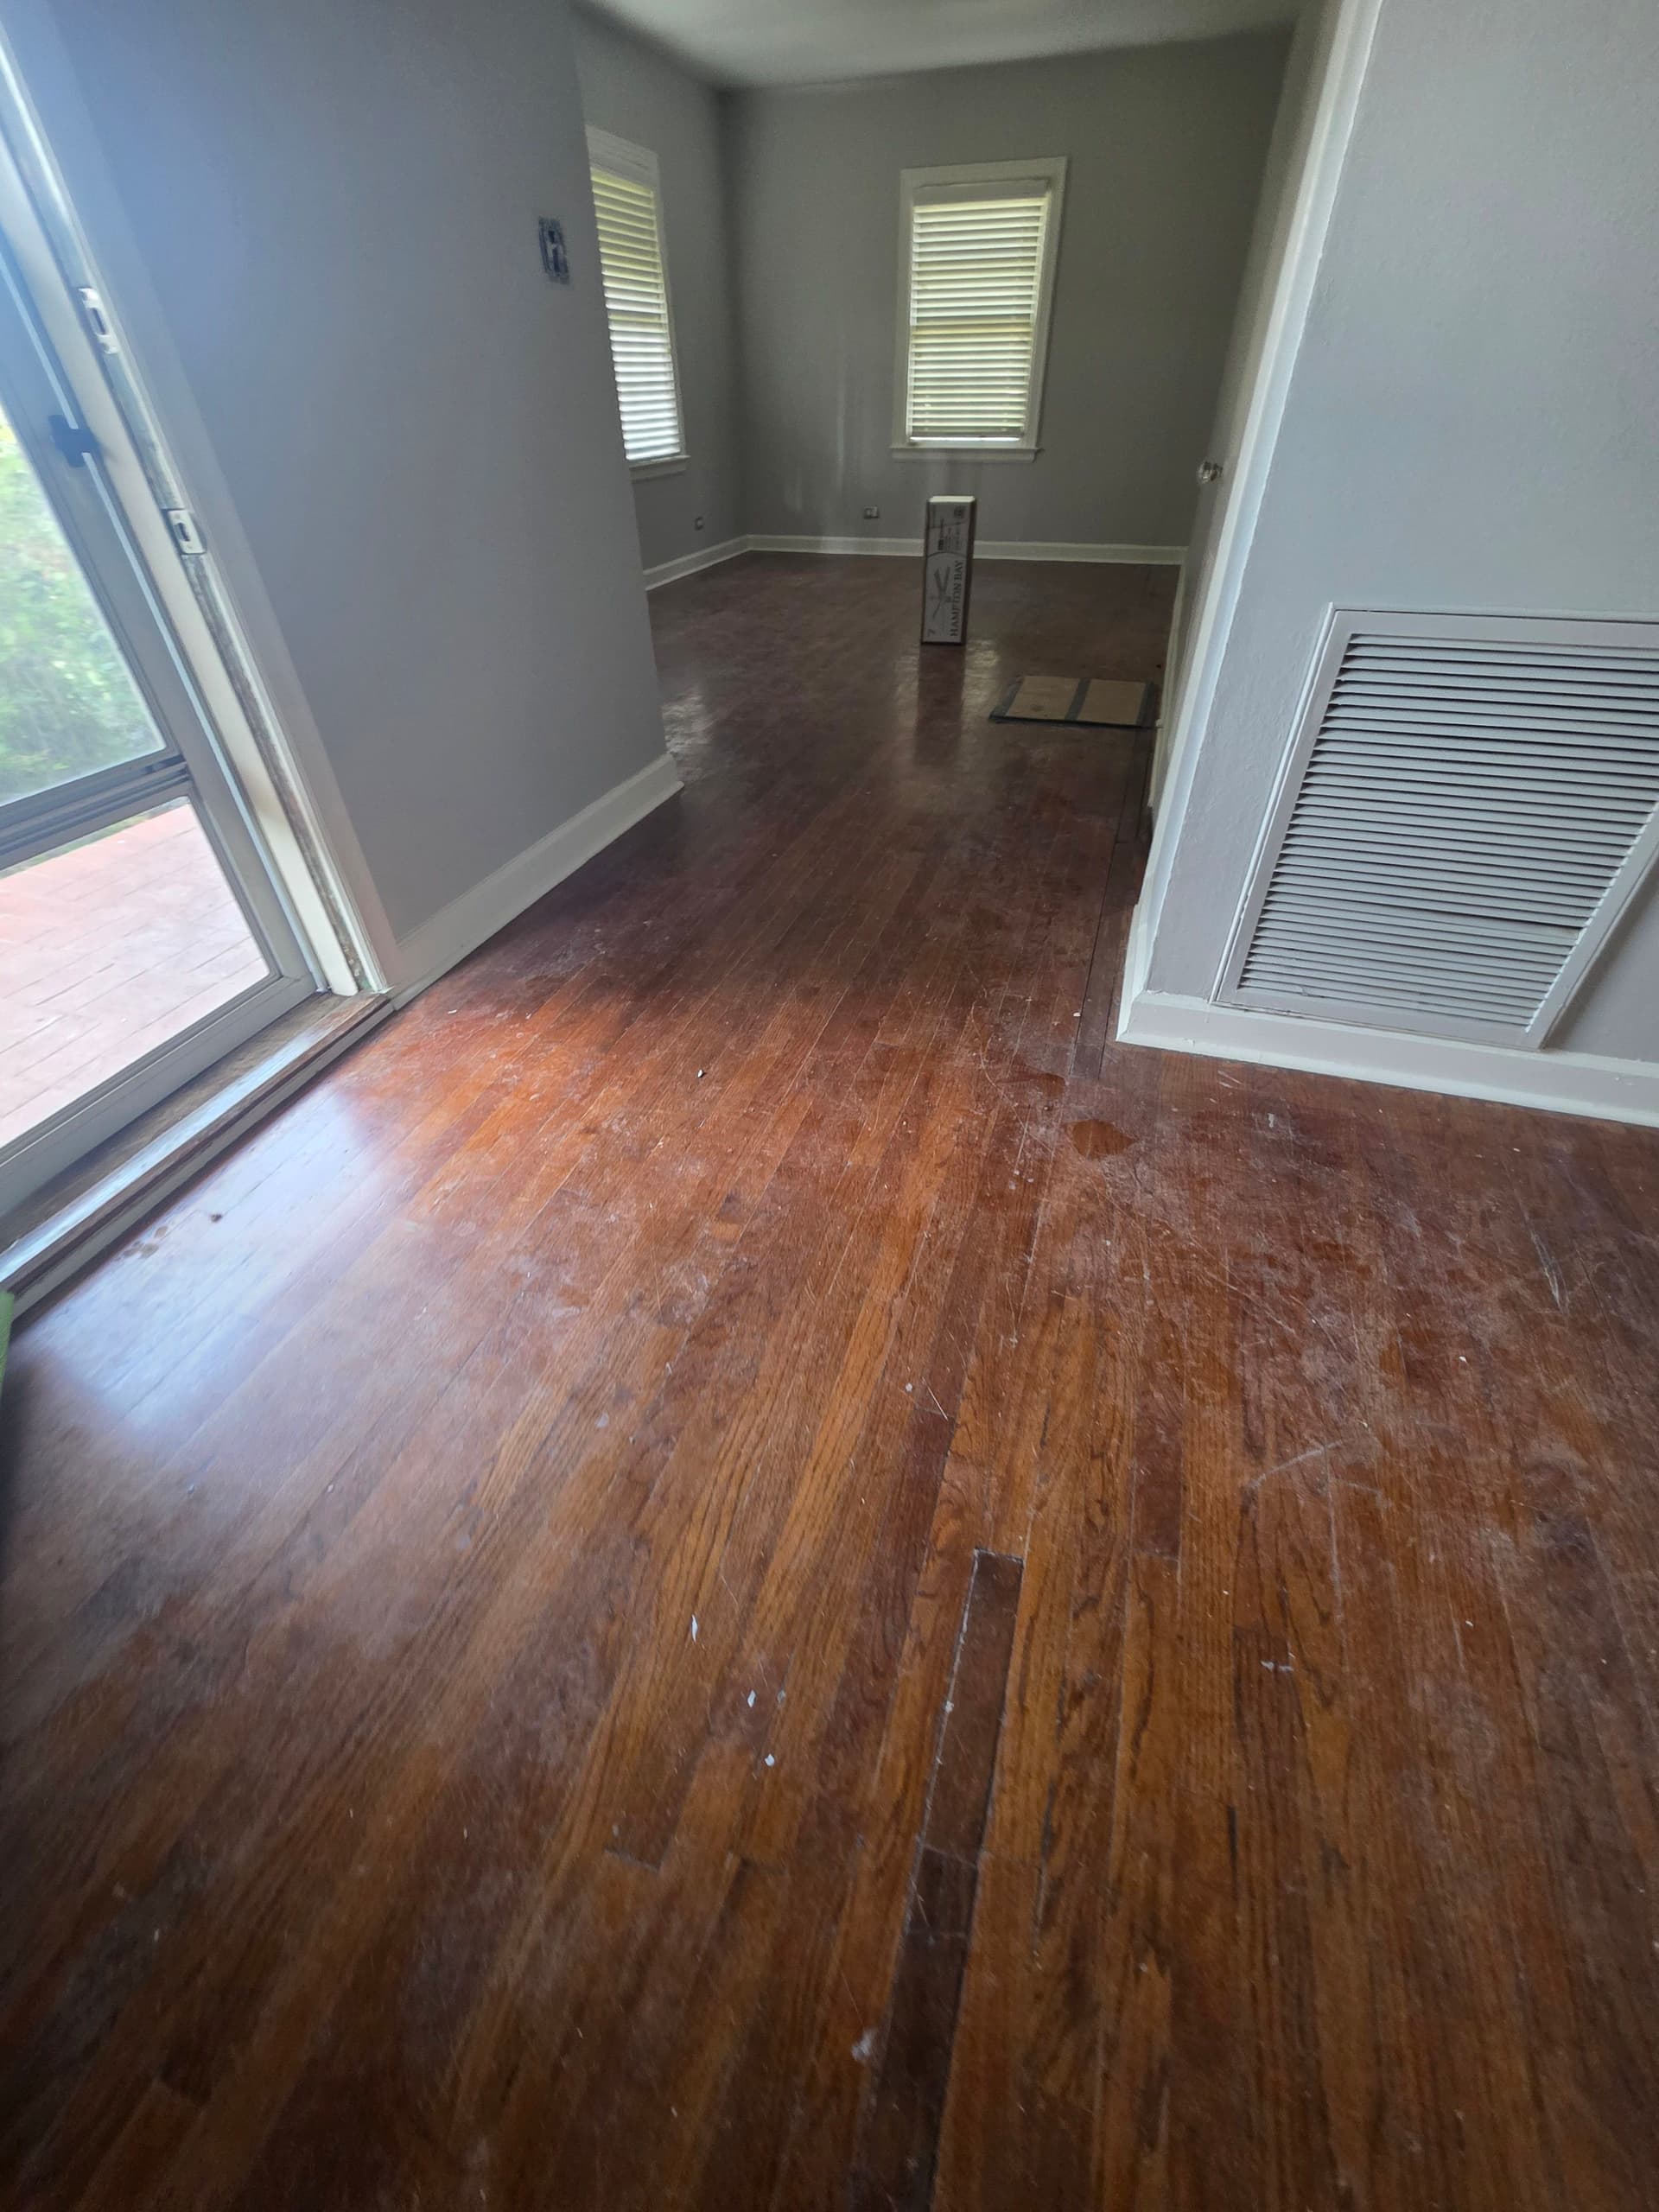
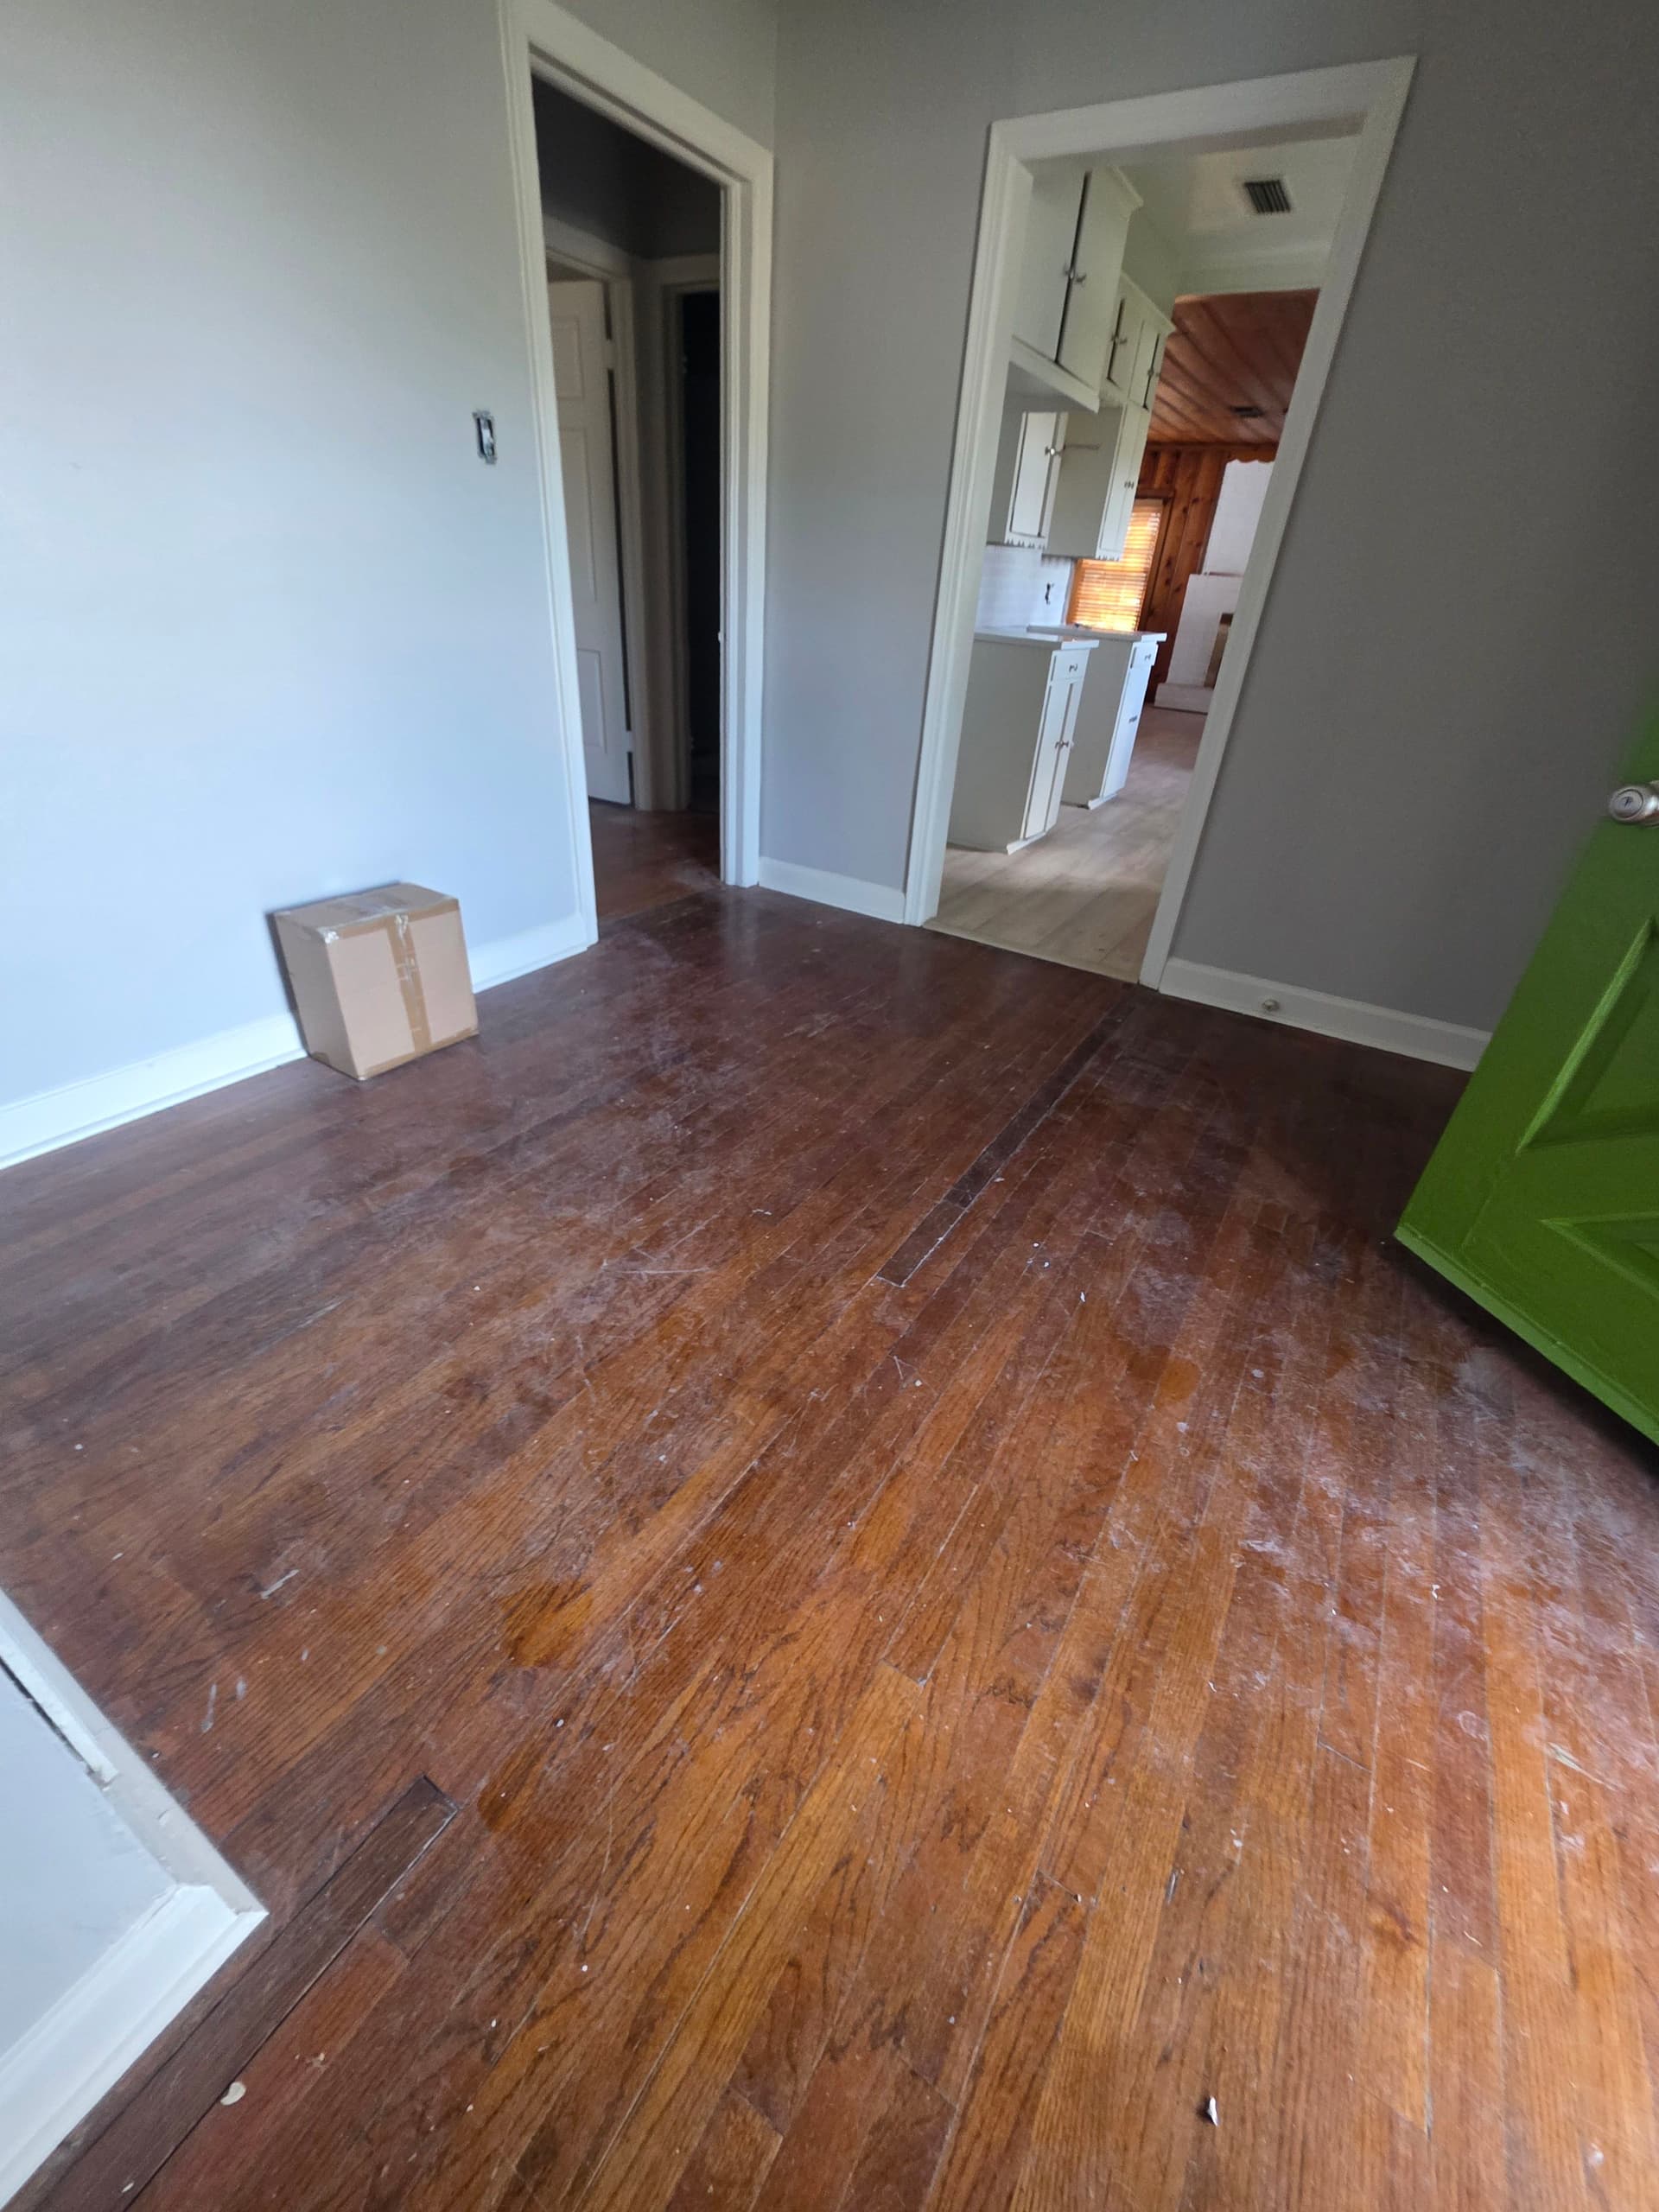

Here's what we were working with - hardwood floors that had years of scratches, worn finish, and dull patches spread across multiple rooms. The wood itself was solid. It just needed the right hands to bring it back. That's exactly what we did.
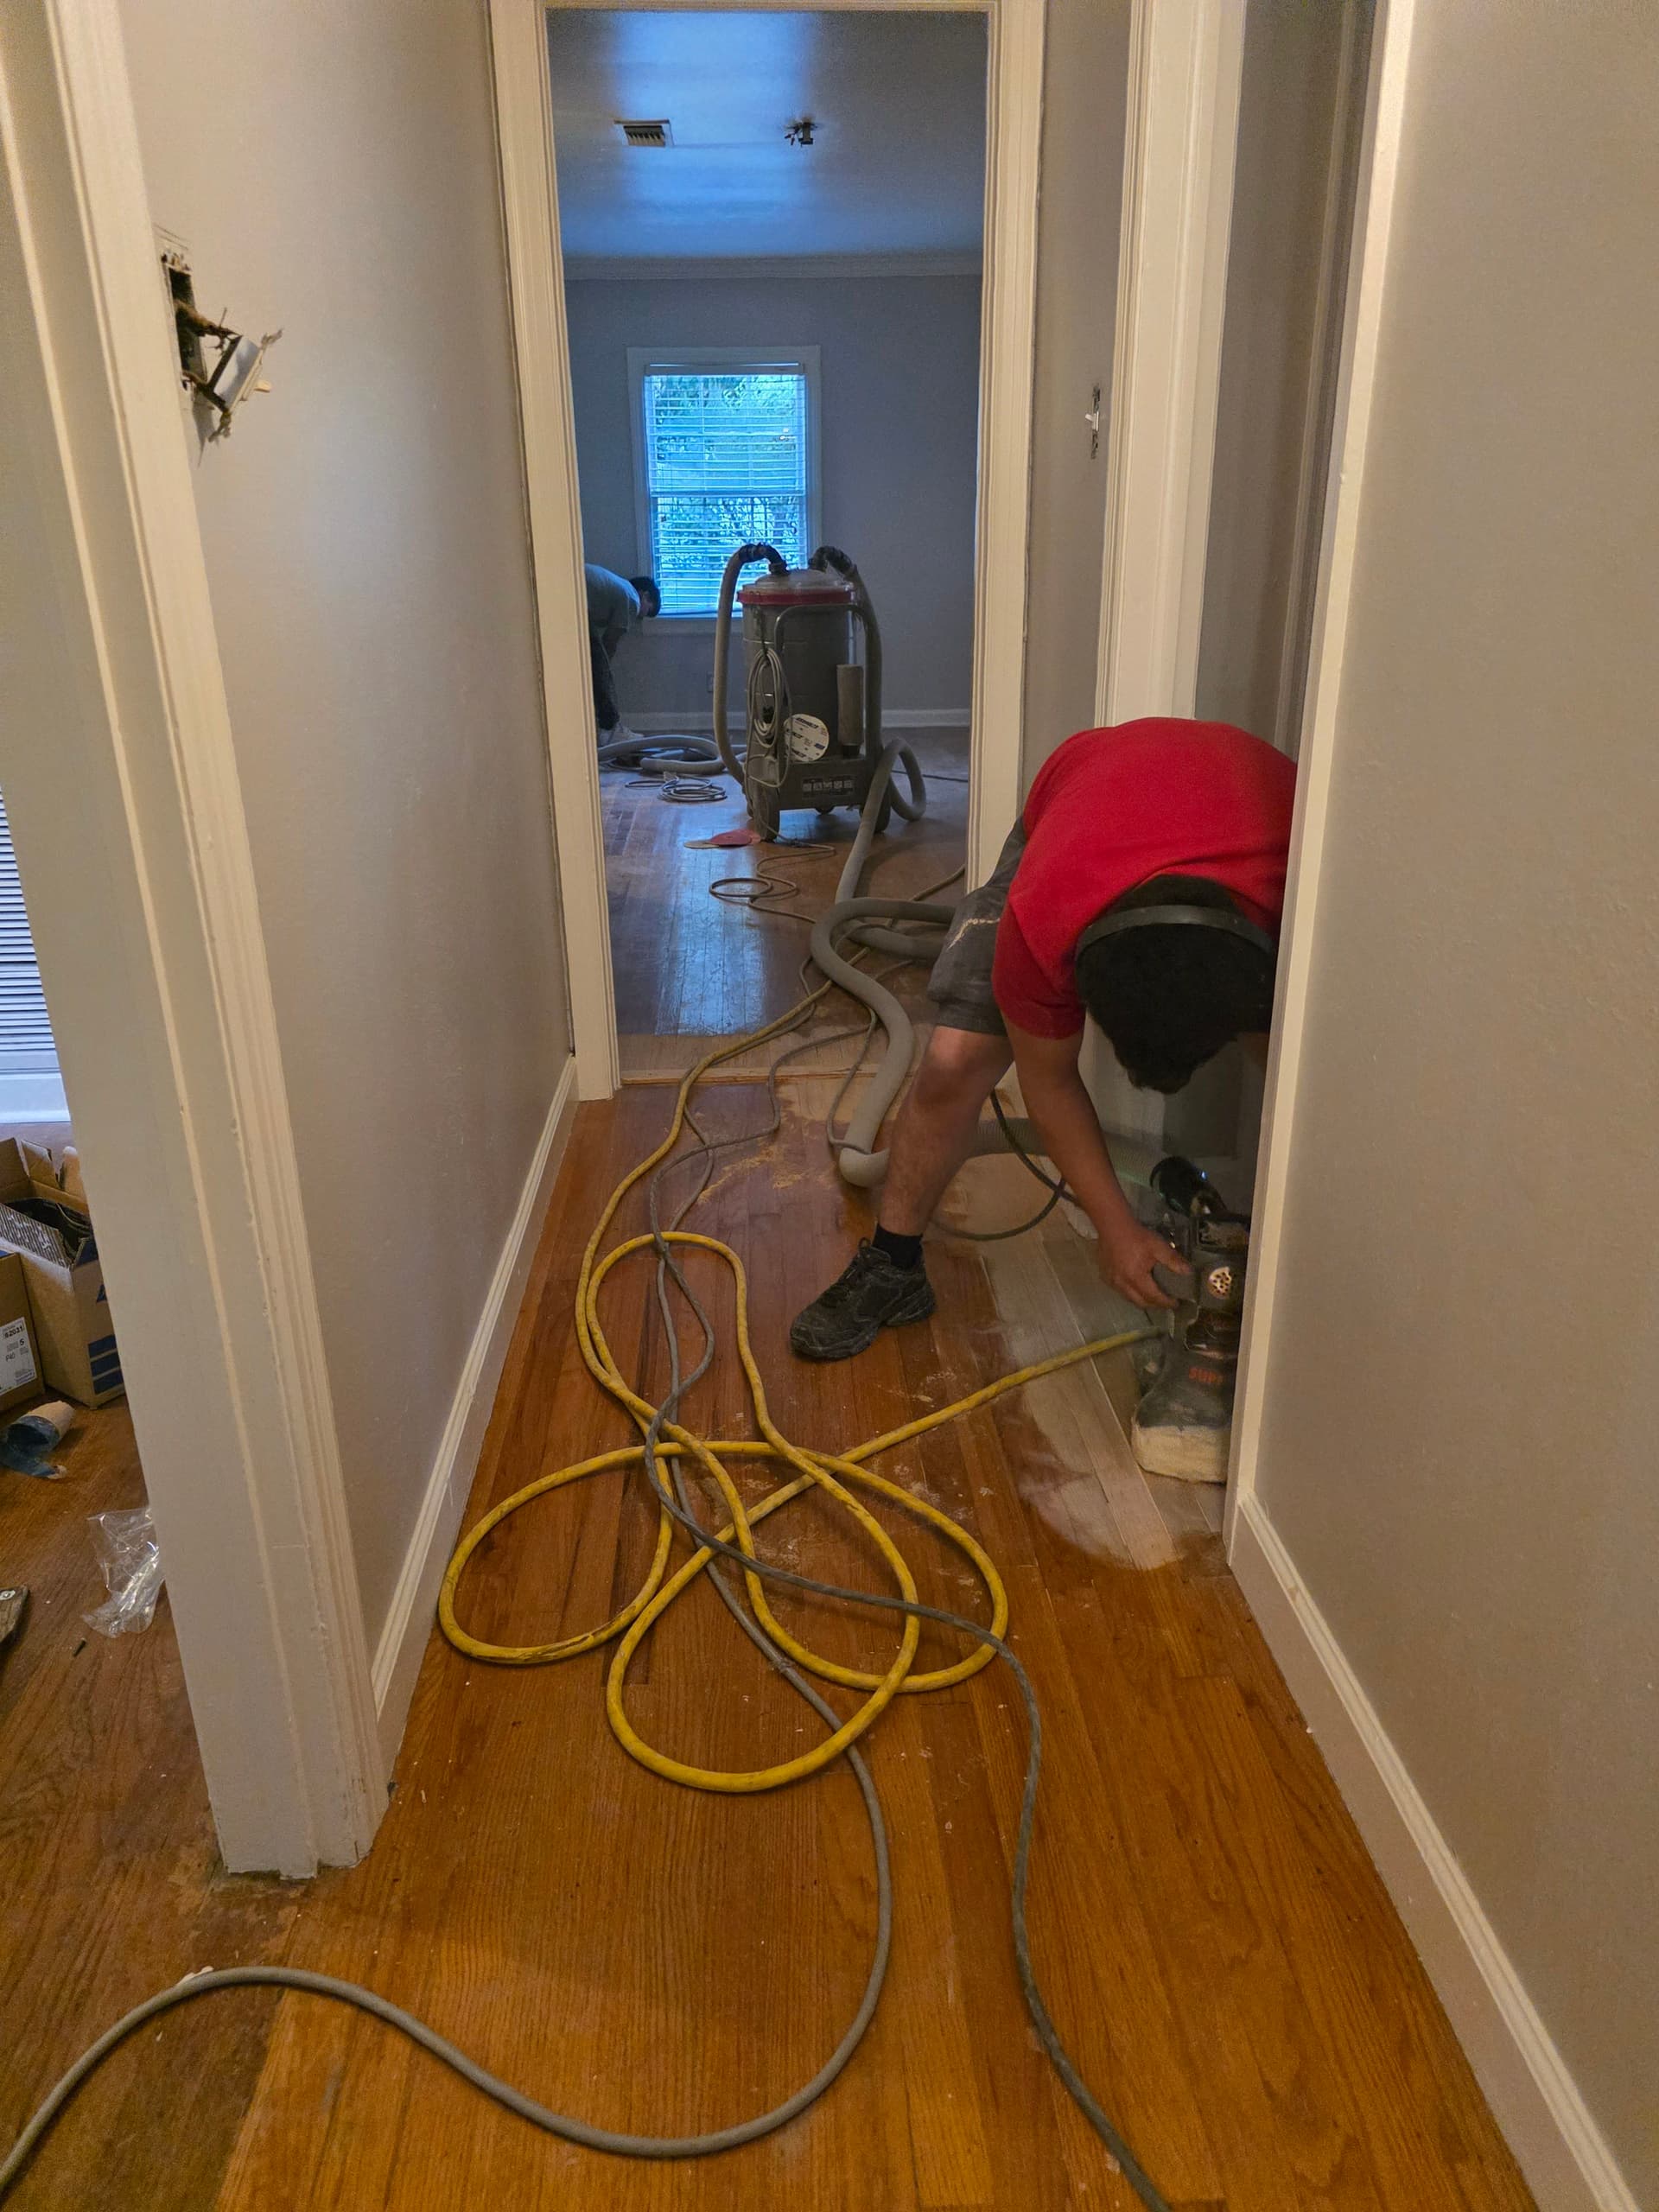
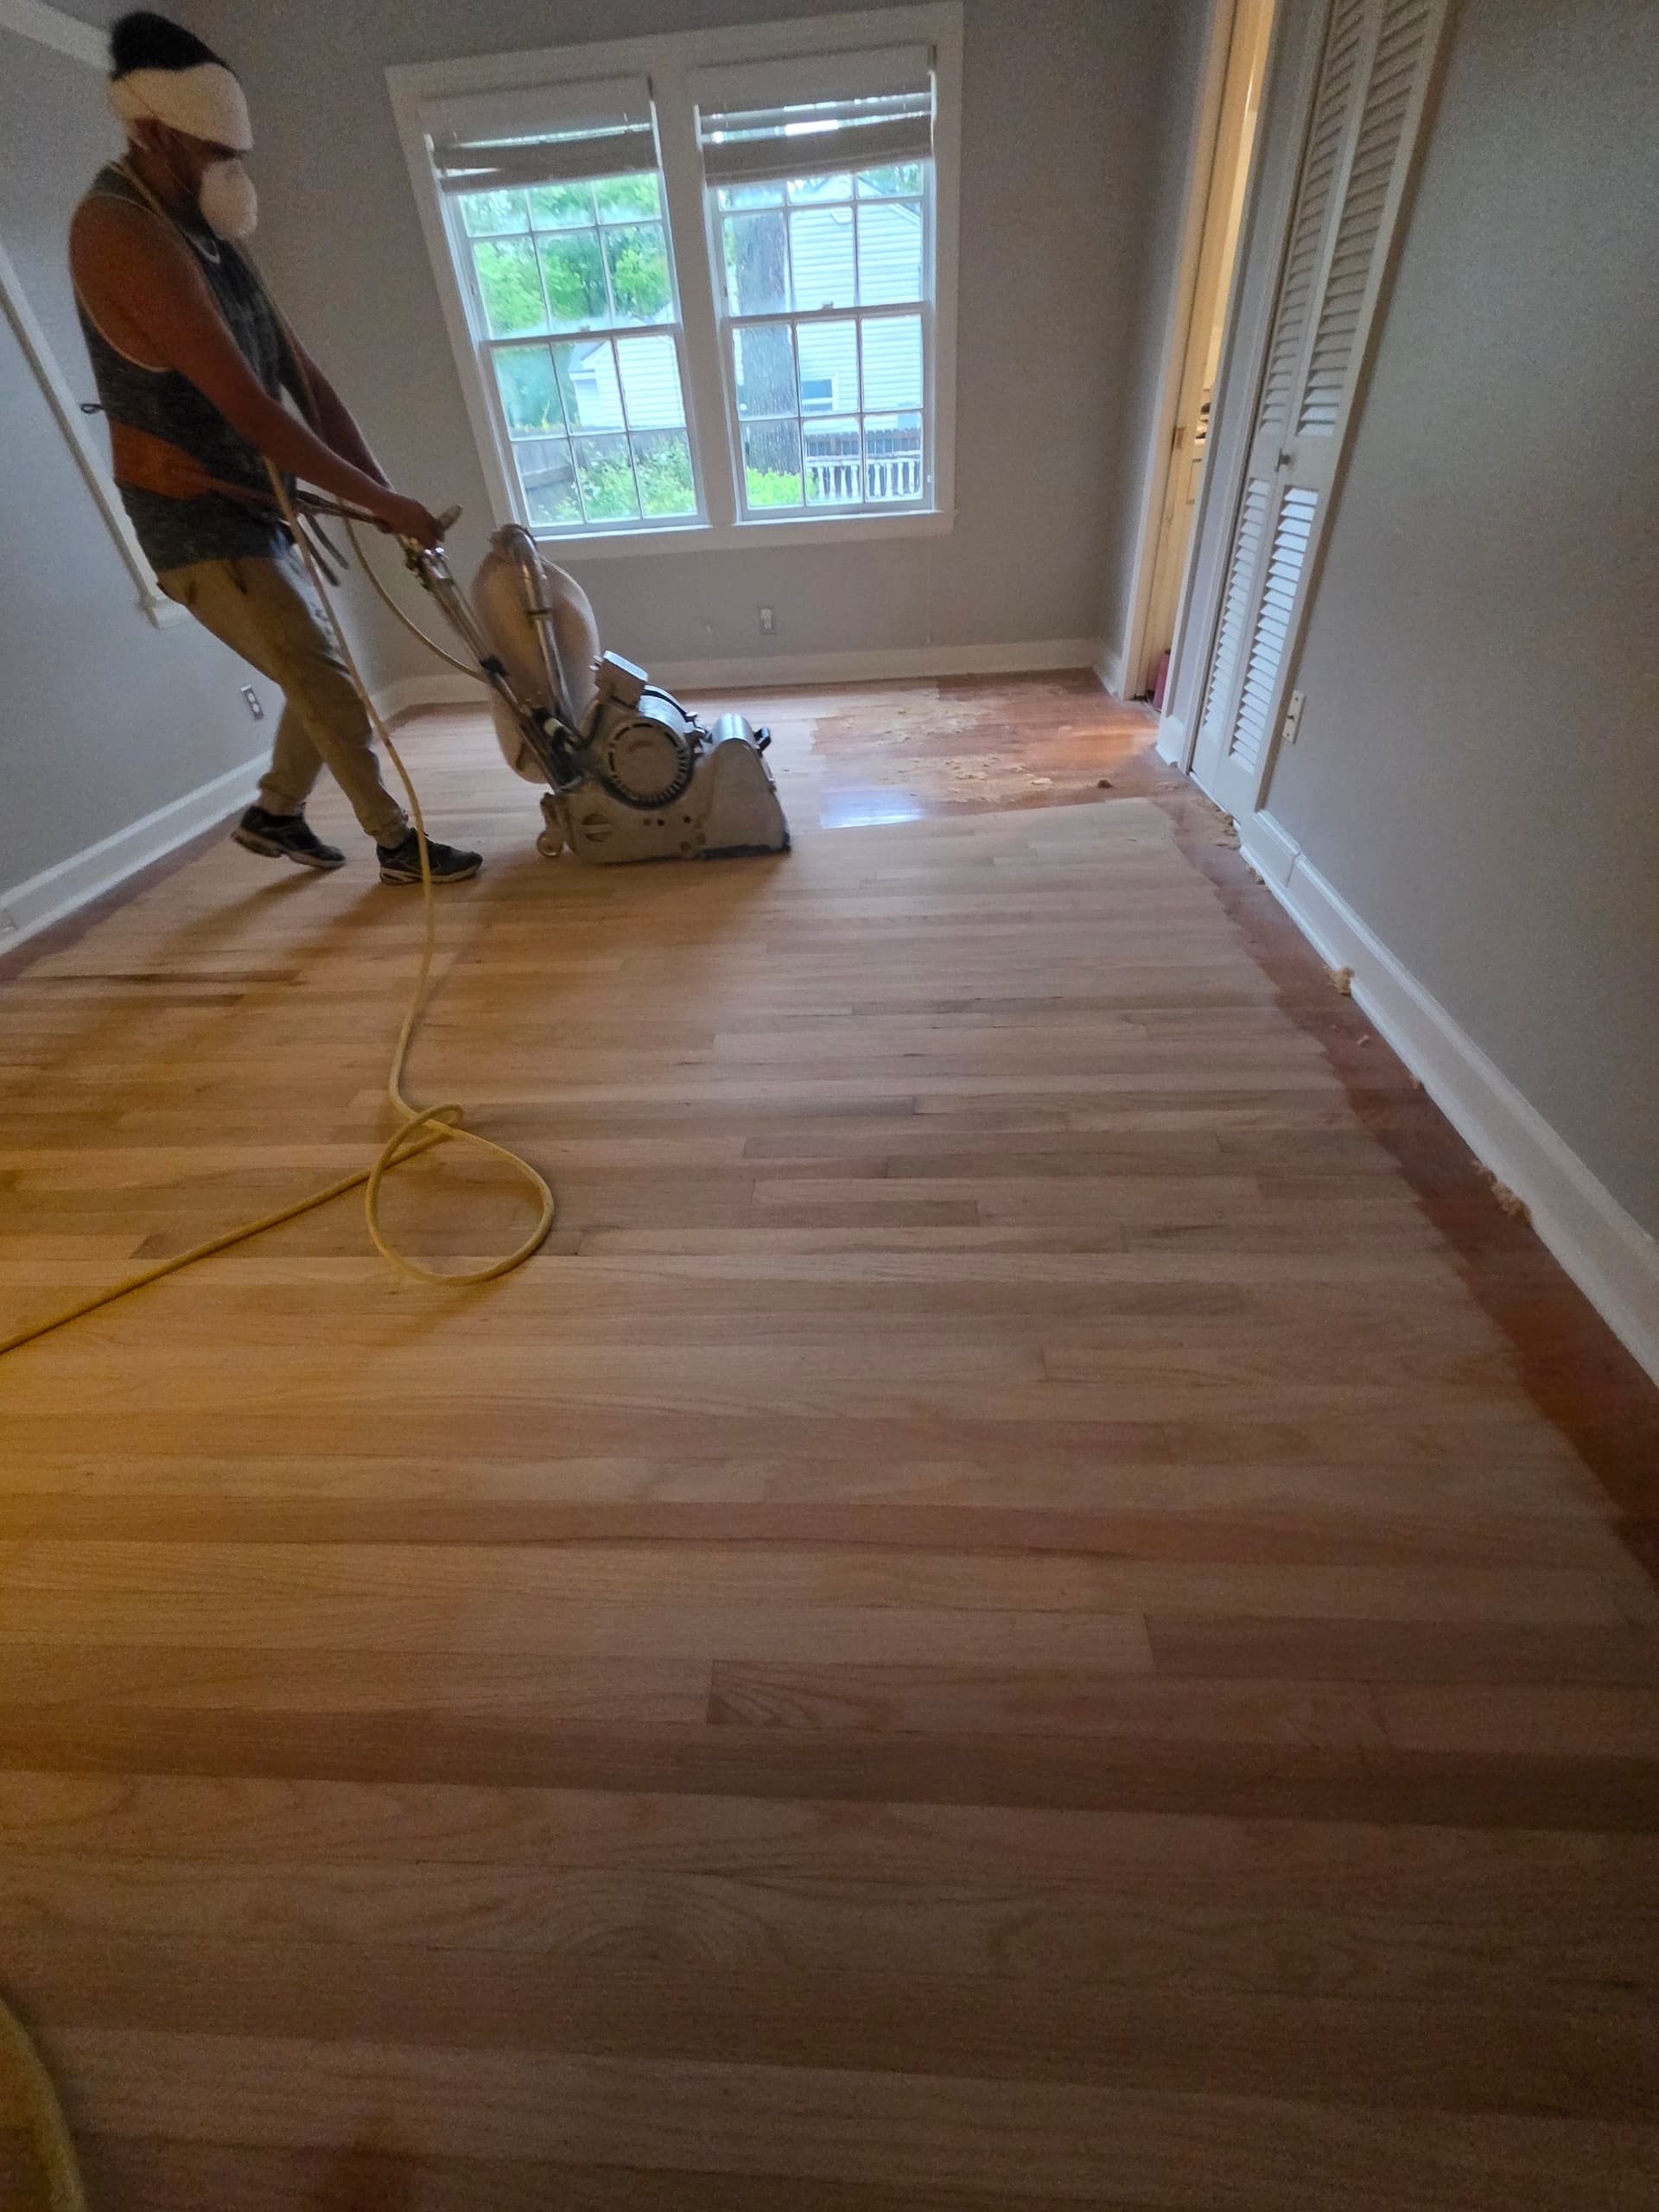
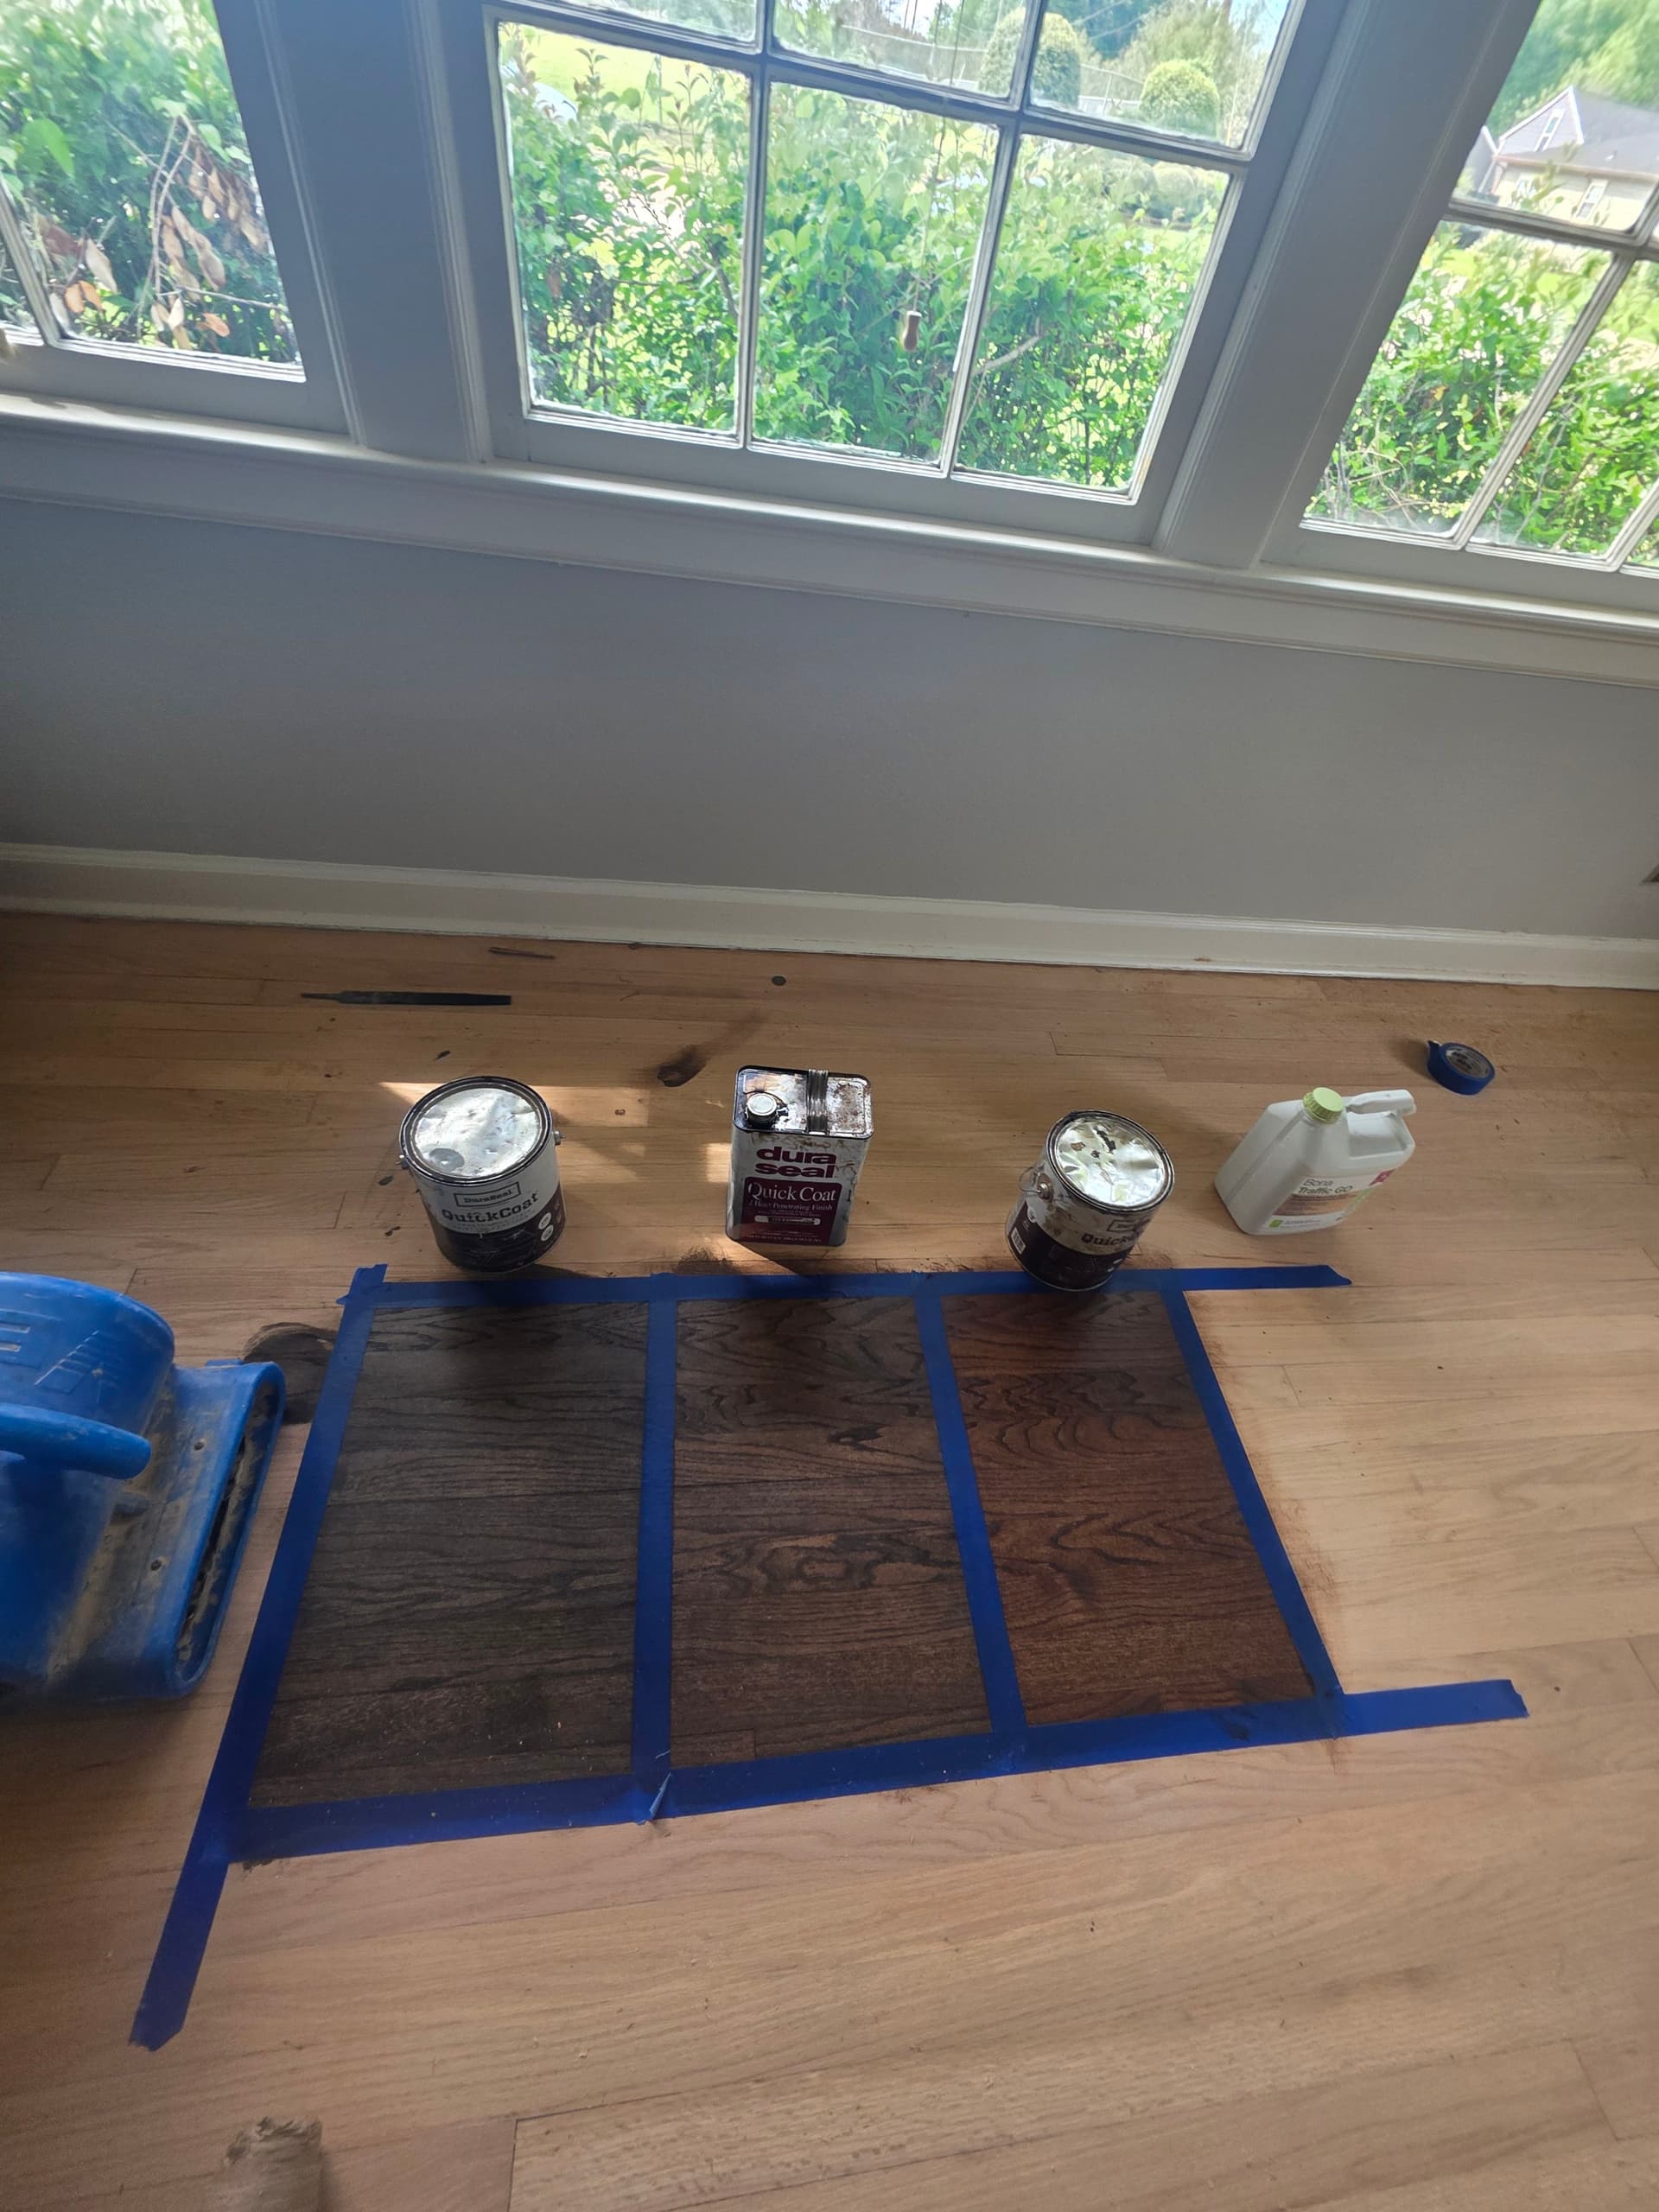
We started with a full sand. That means stripping everything down to bare, clean wood - no shortcuts. One of our guys worked the drum sander across the main living areas while another handled the edges and tight spots with a detail sander. Once the old finish was gone, the grain opened right up and the wood looked completely different. Before a single drop of stain went down, we tested color samples directly on the freshly sanded floor so the homeowner could see exactly what each option looked like in their own light. Three stain options, side by side, taped off with blue painter's tape. No guessing.
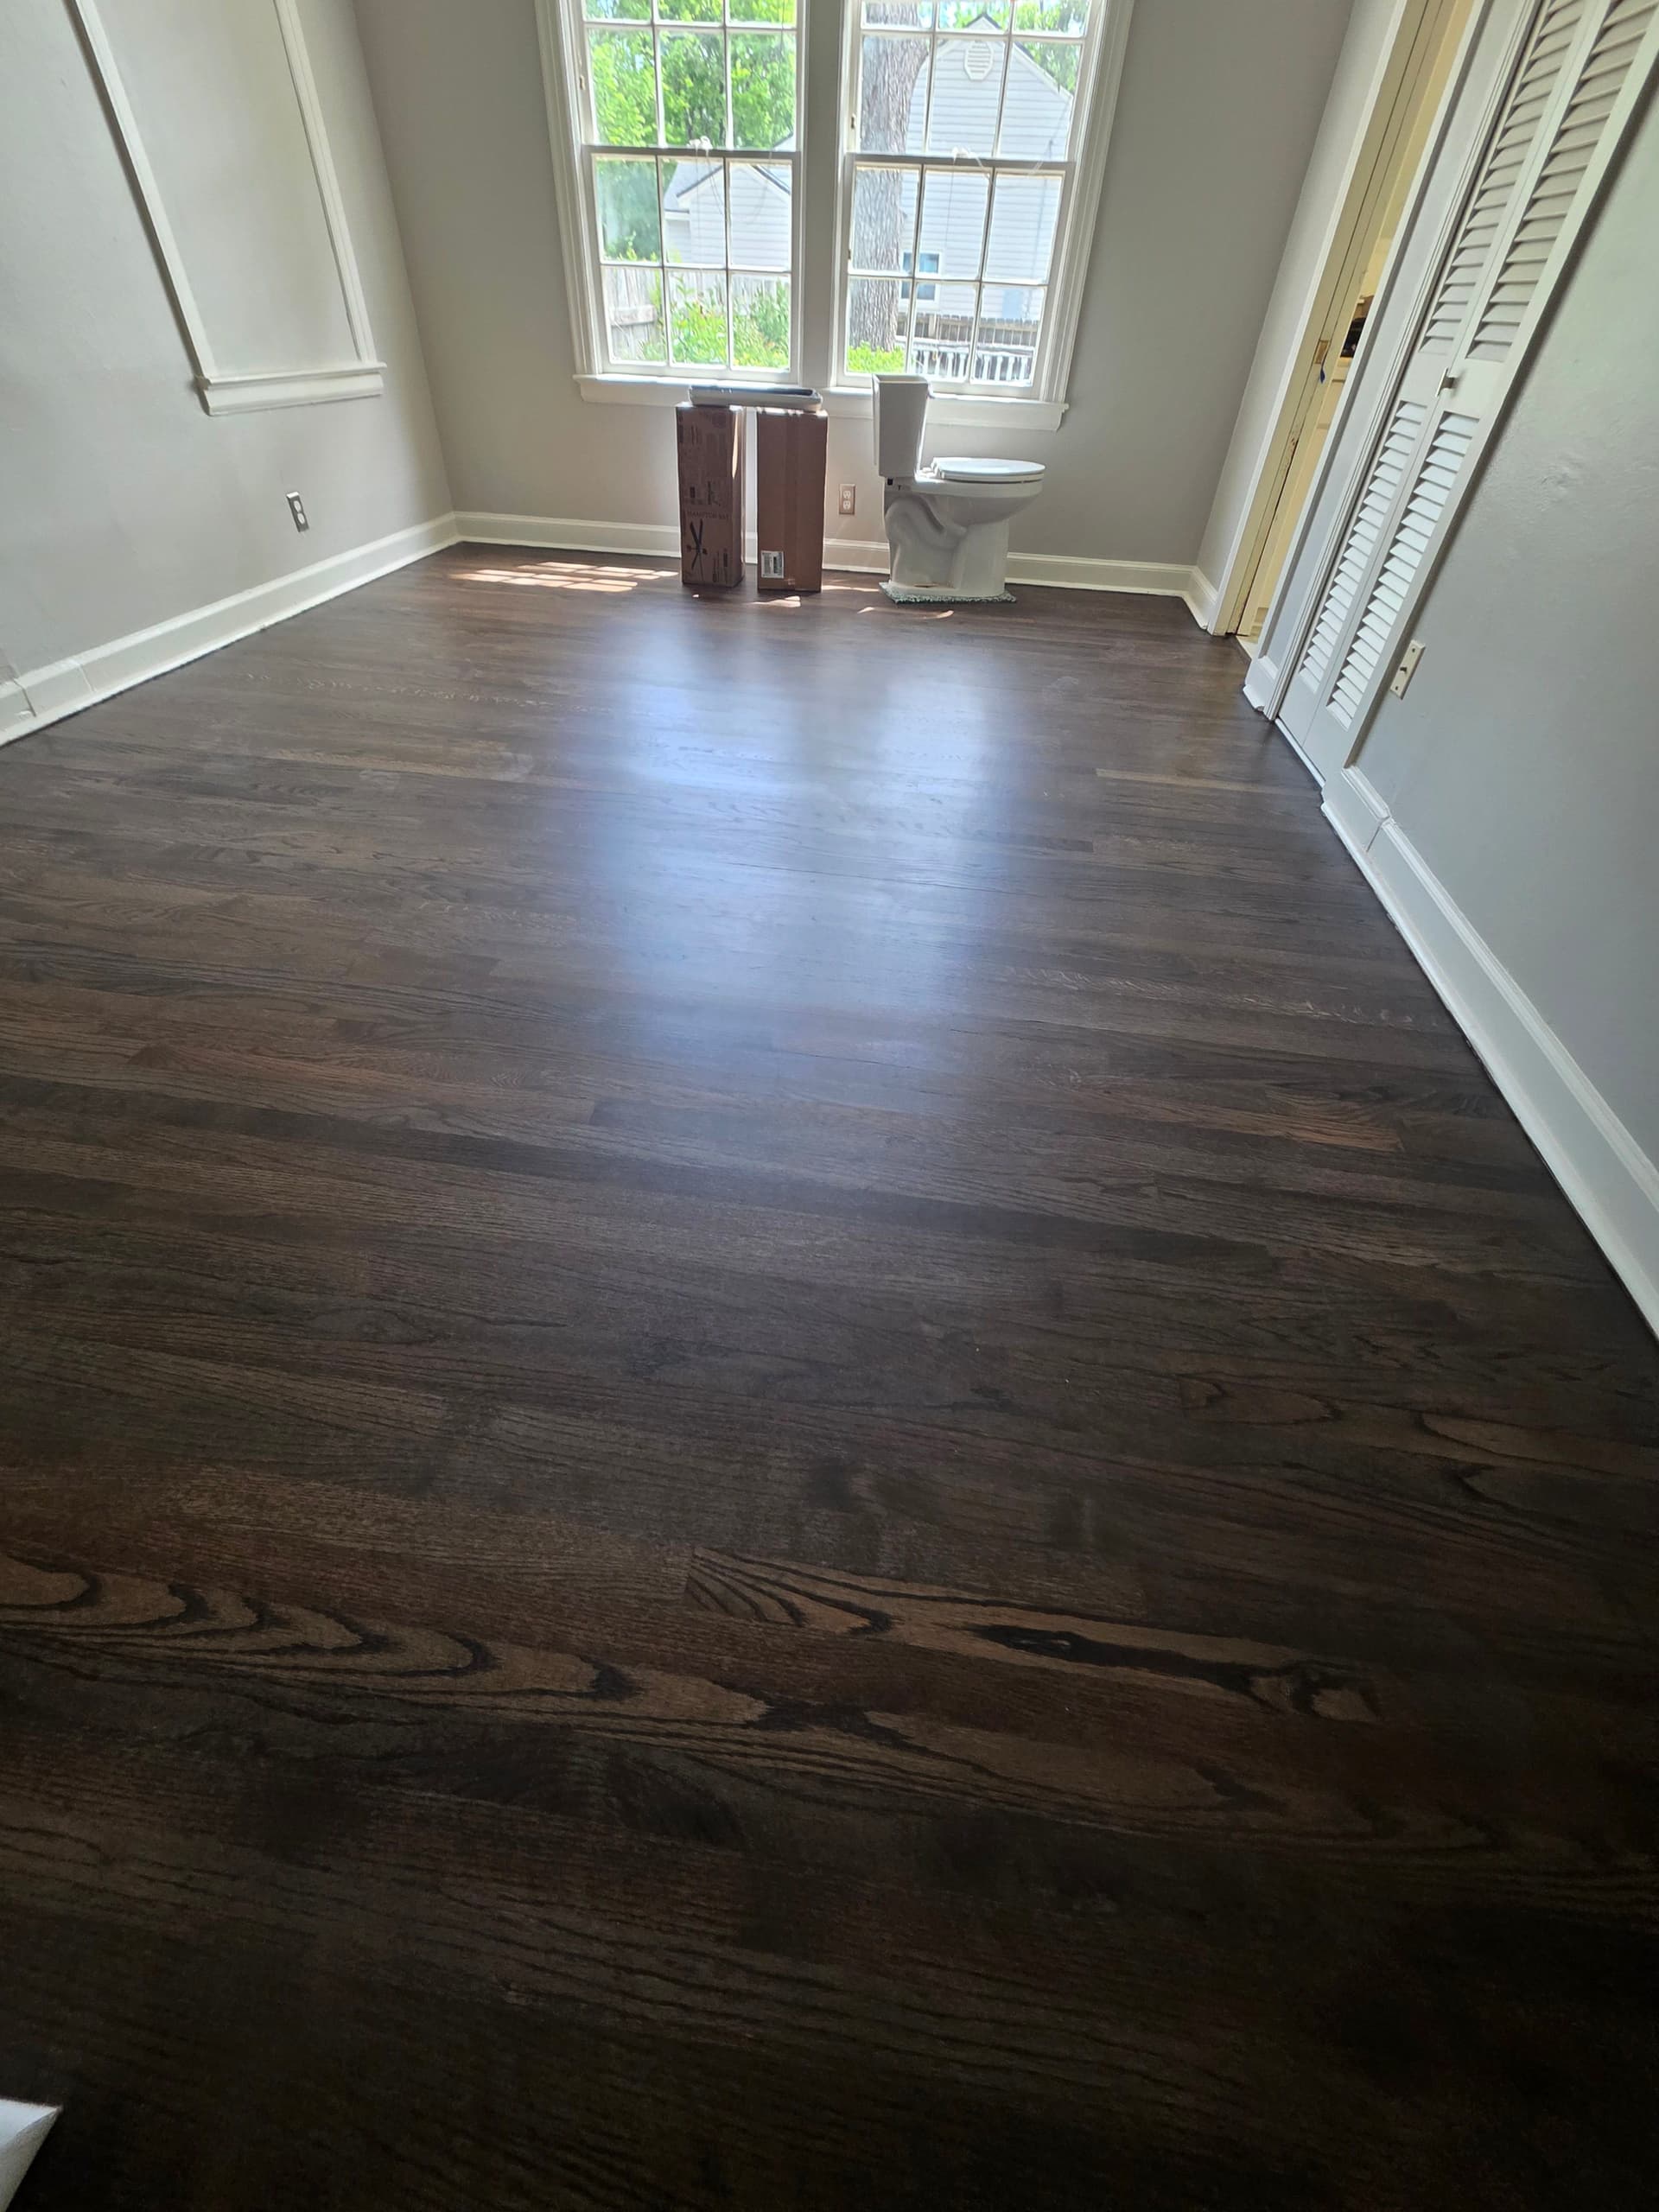
The stain color they landed on was a deep, rich espresso tone. After the stain cured, we applied the finish coats to lock everything in. The end result is a floor that looks sharp against the gray walls - dark, even, and smooth from wall to wall. This is what a proper hardwood refinish looks like when the prep work is done right.
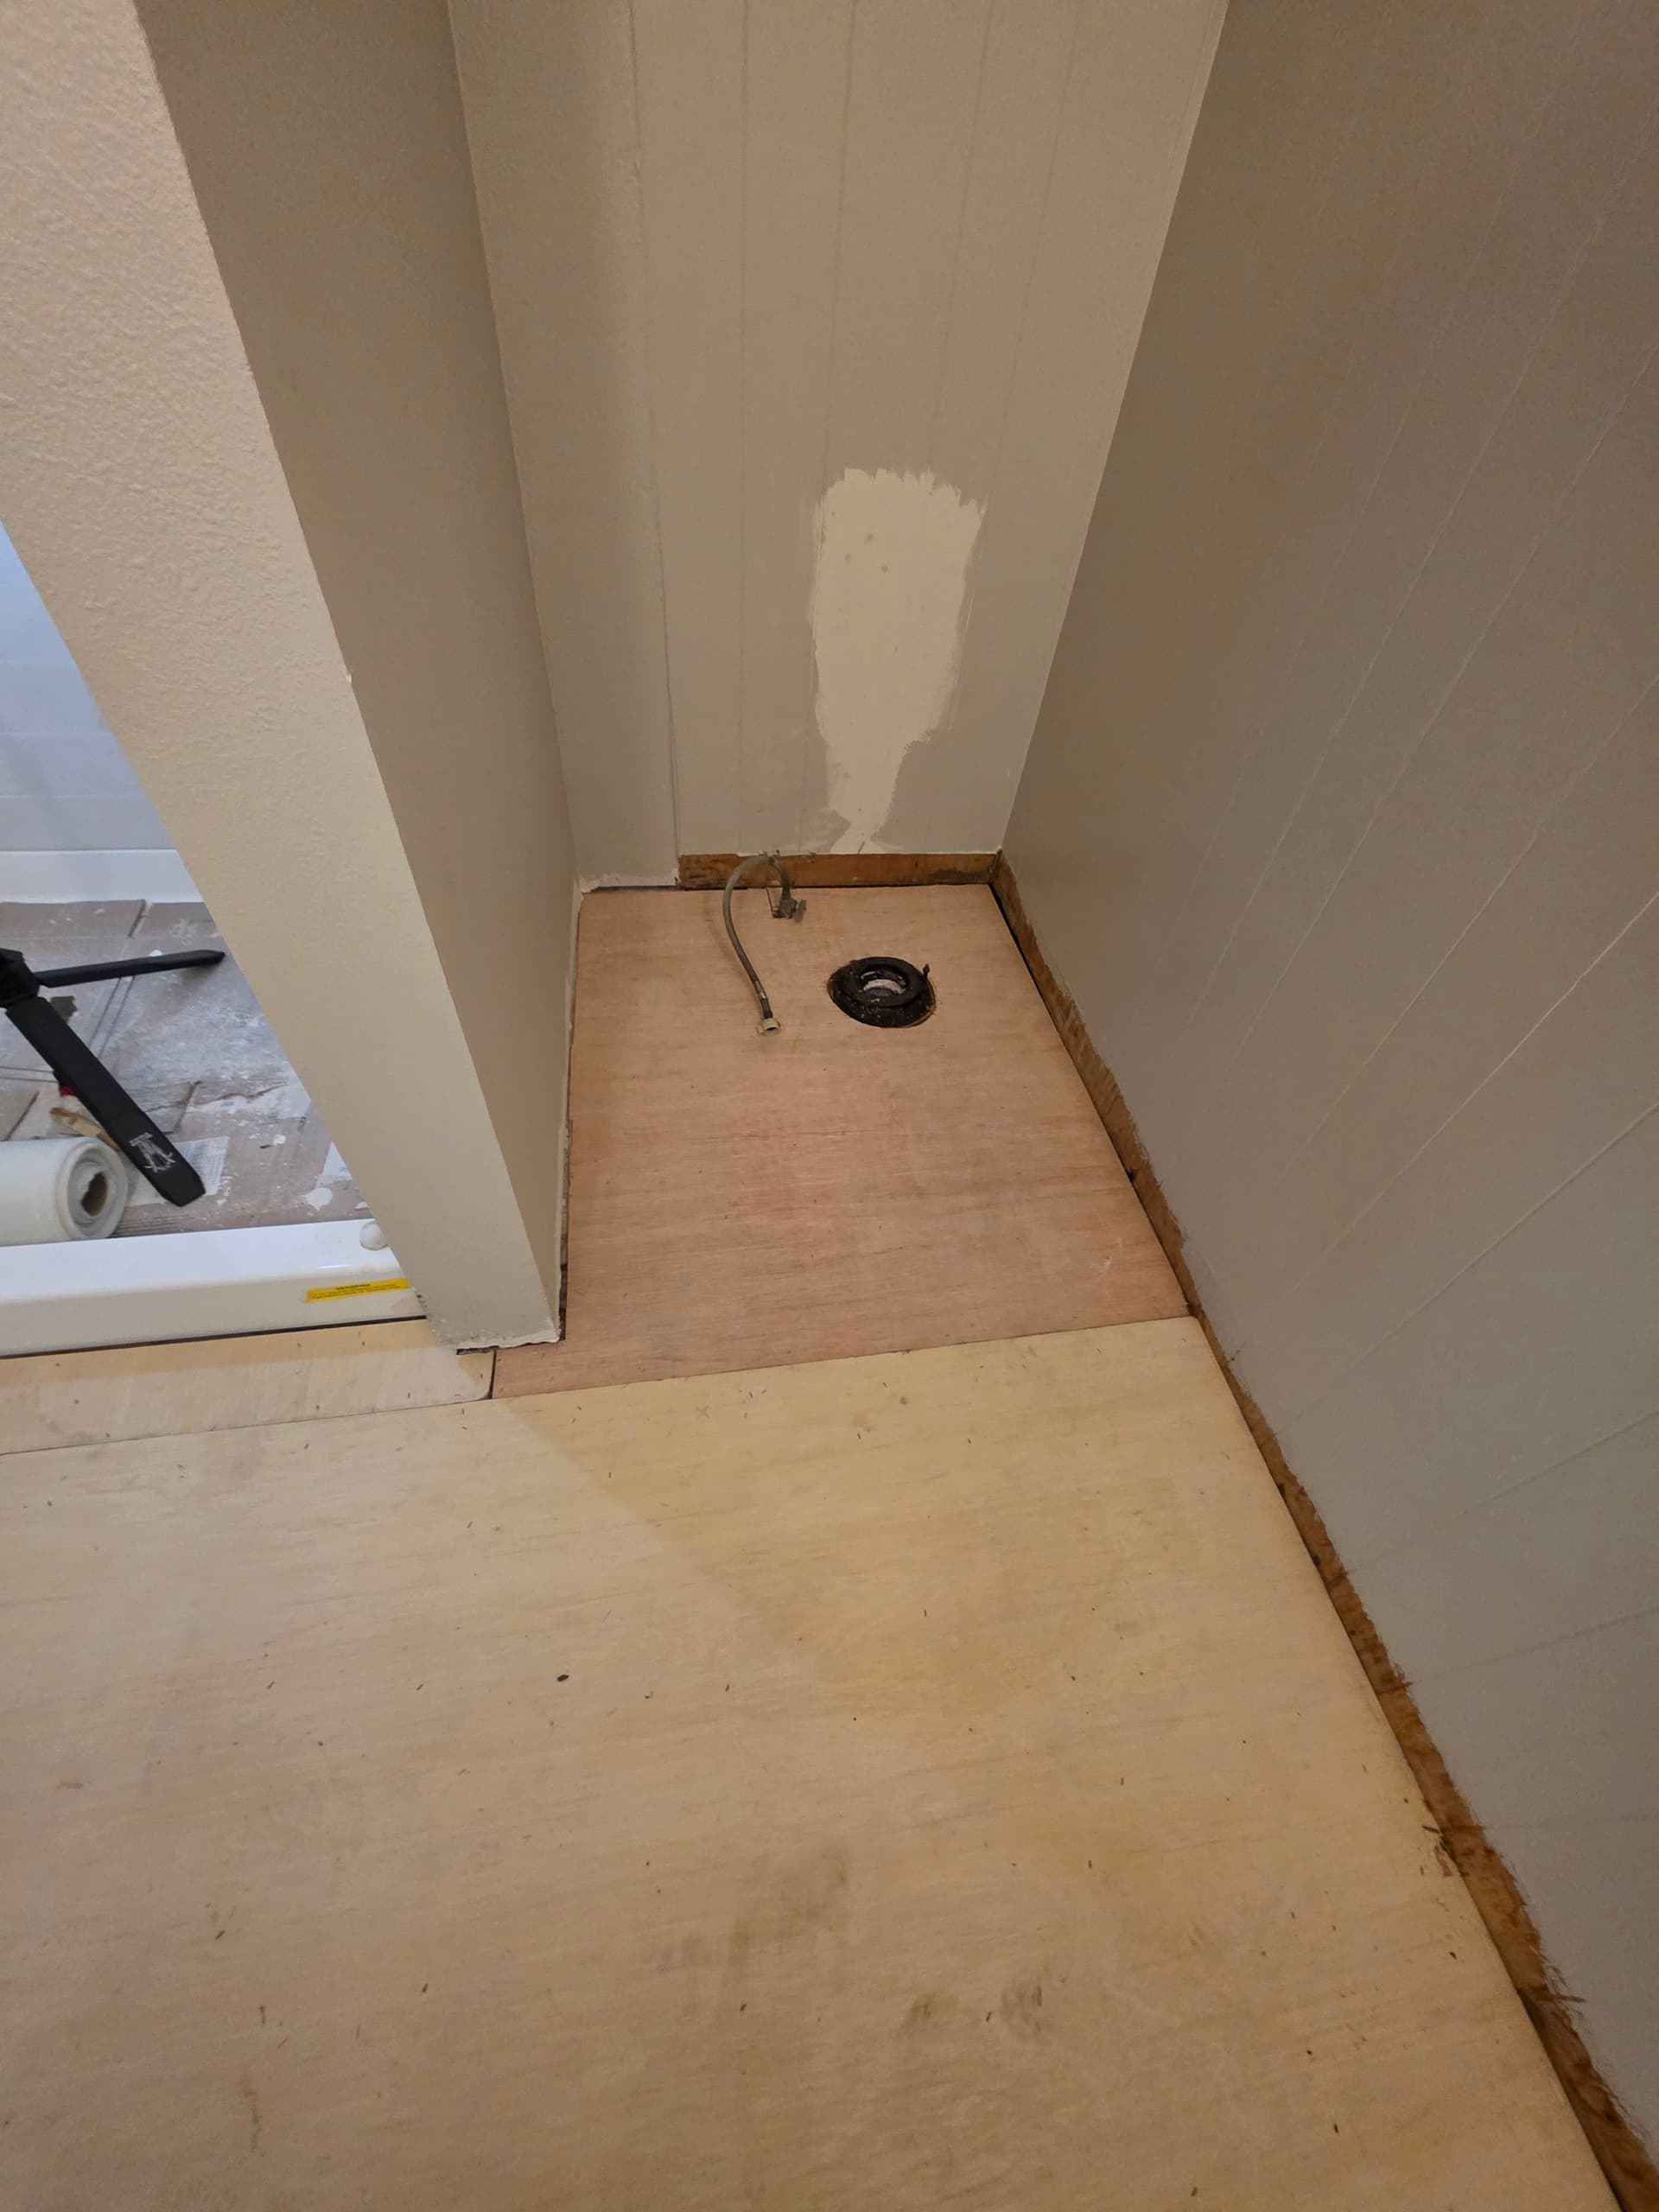
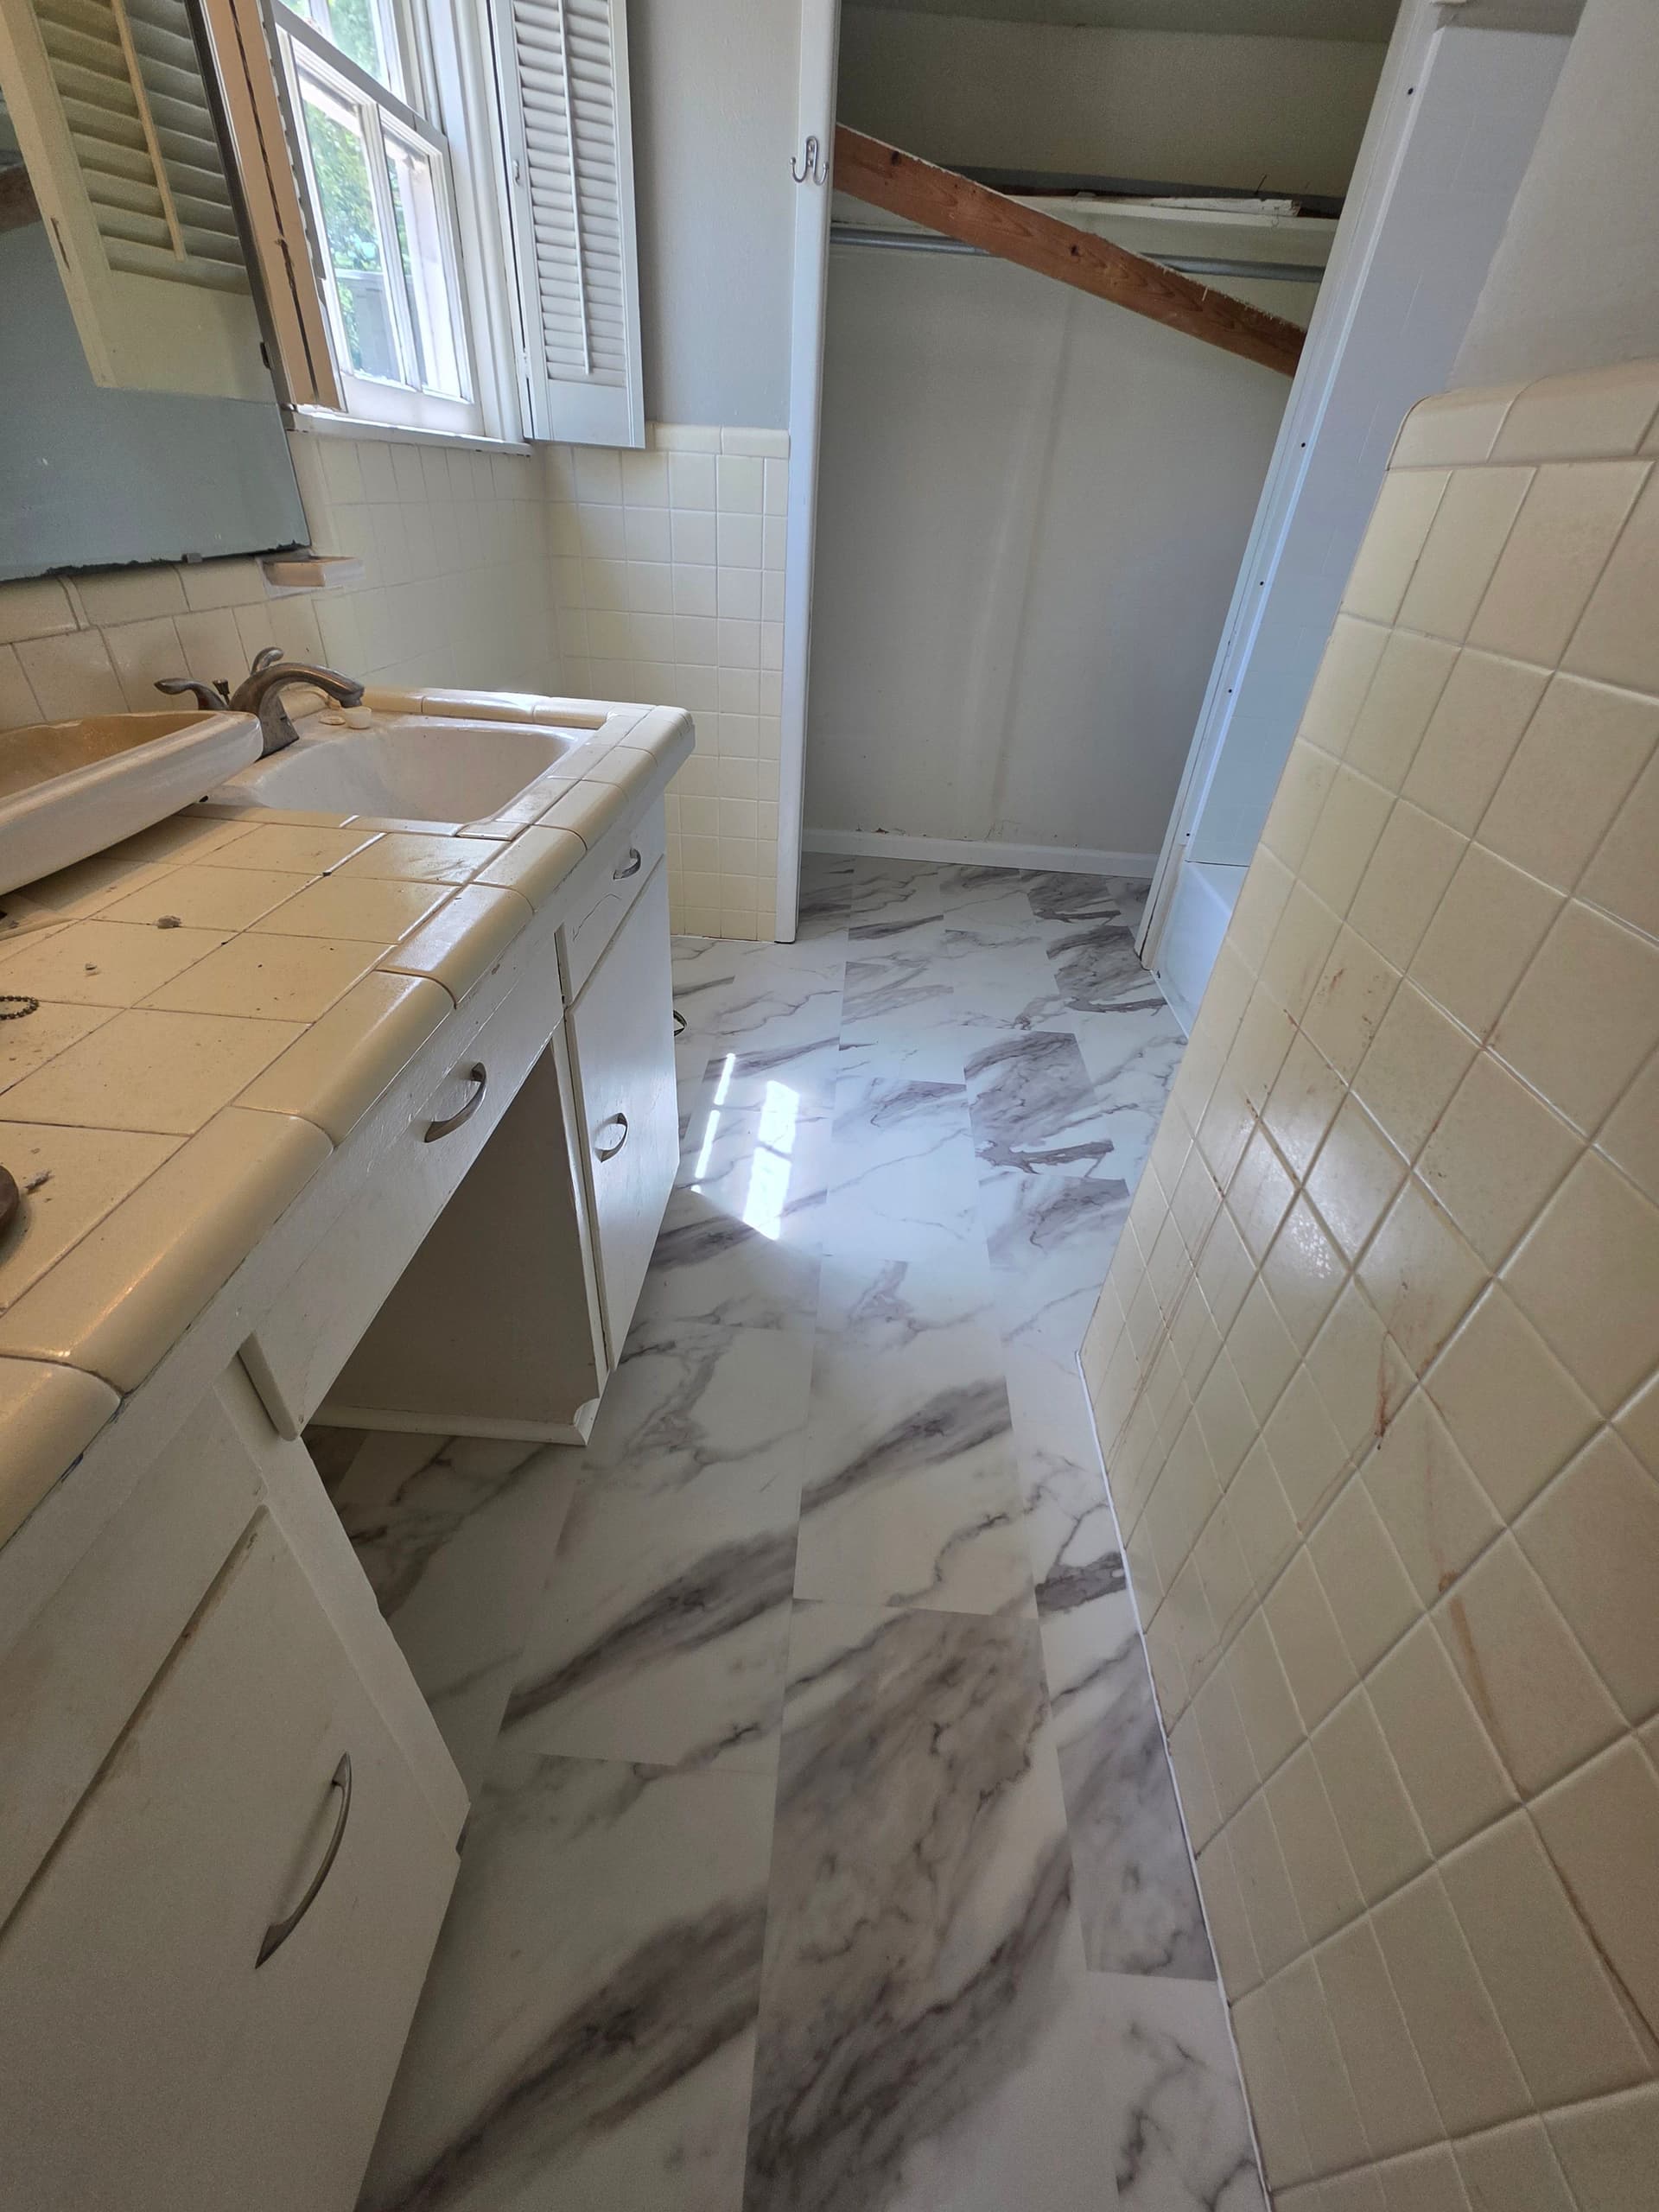
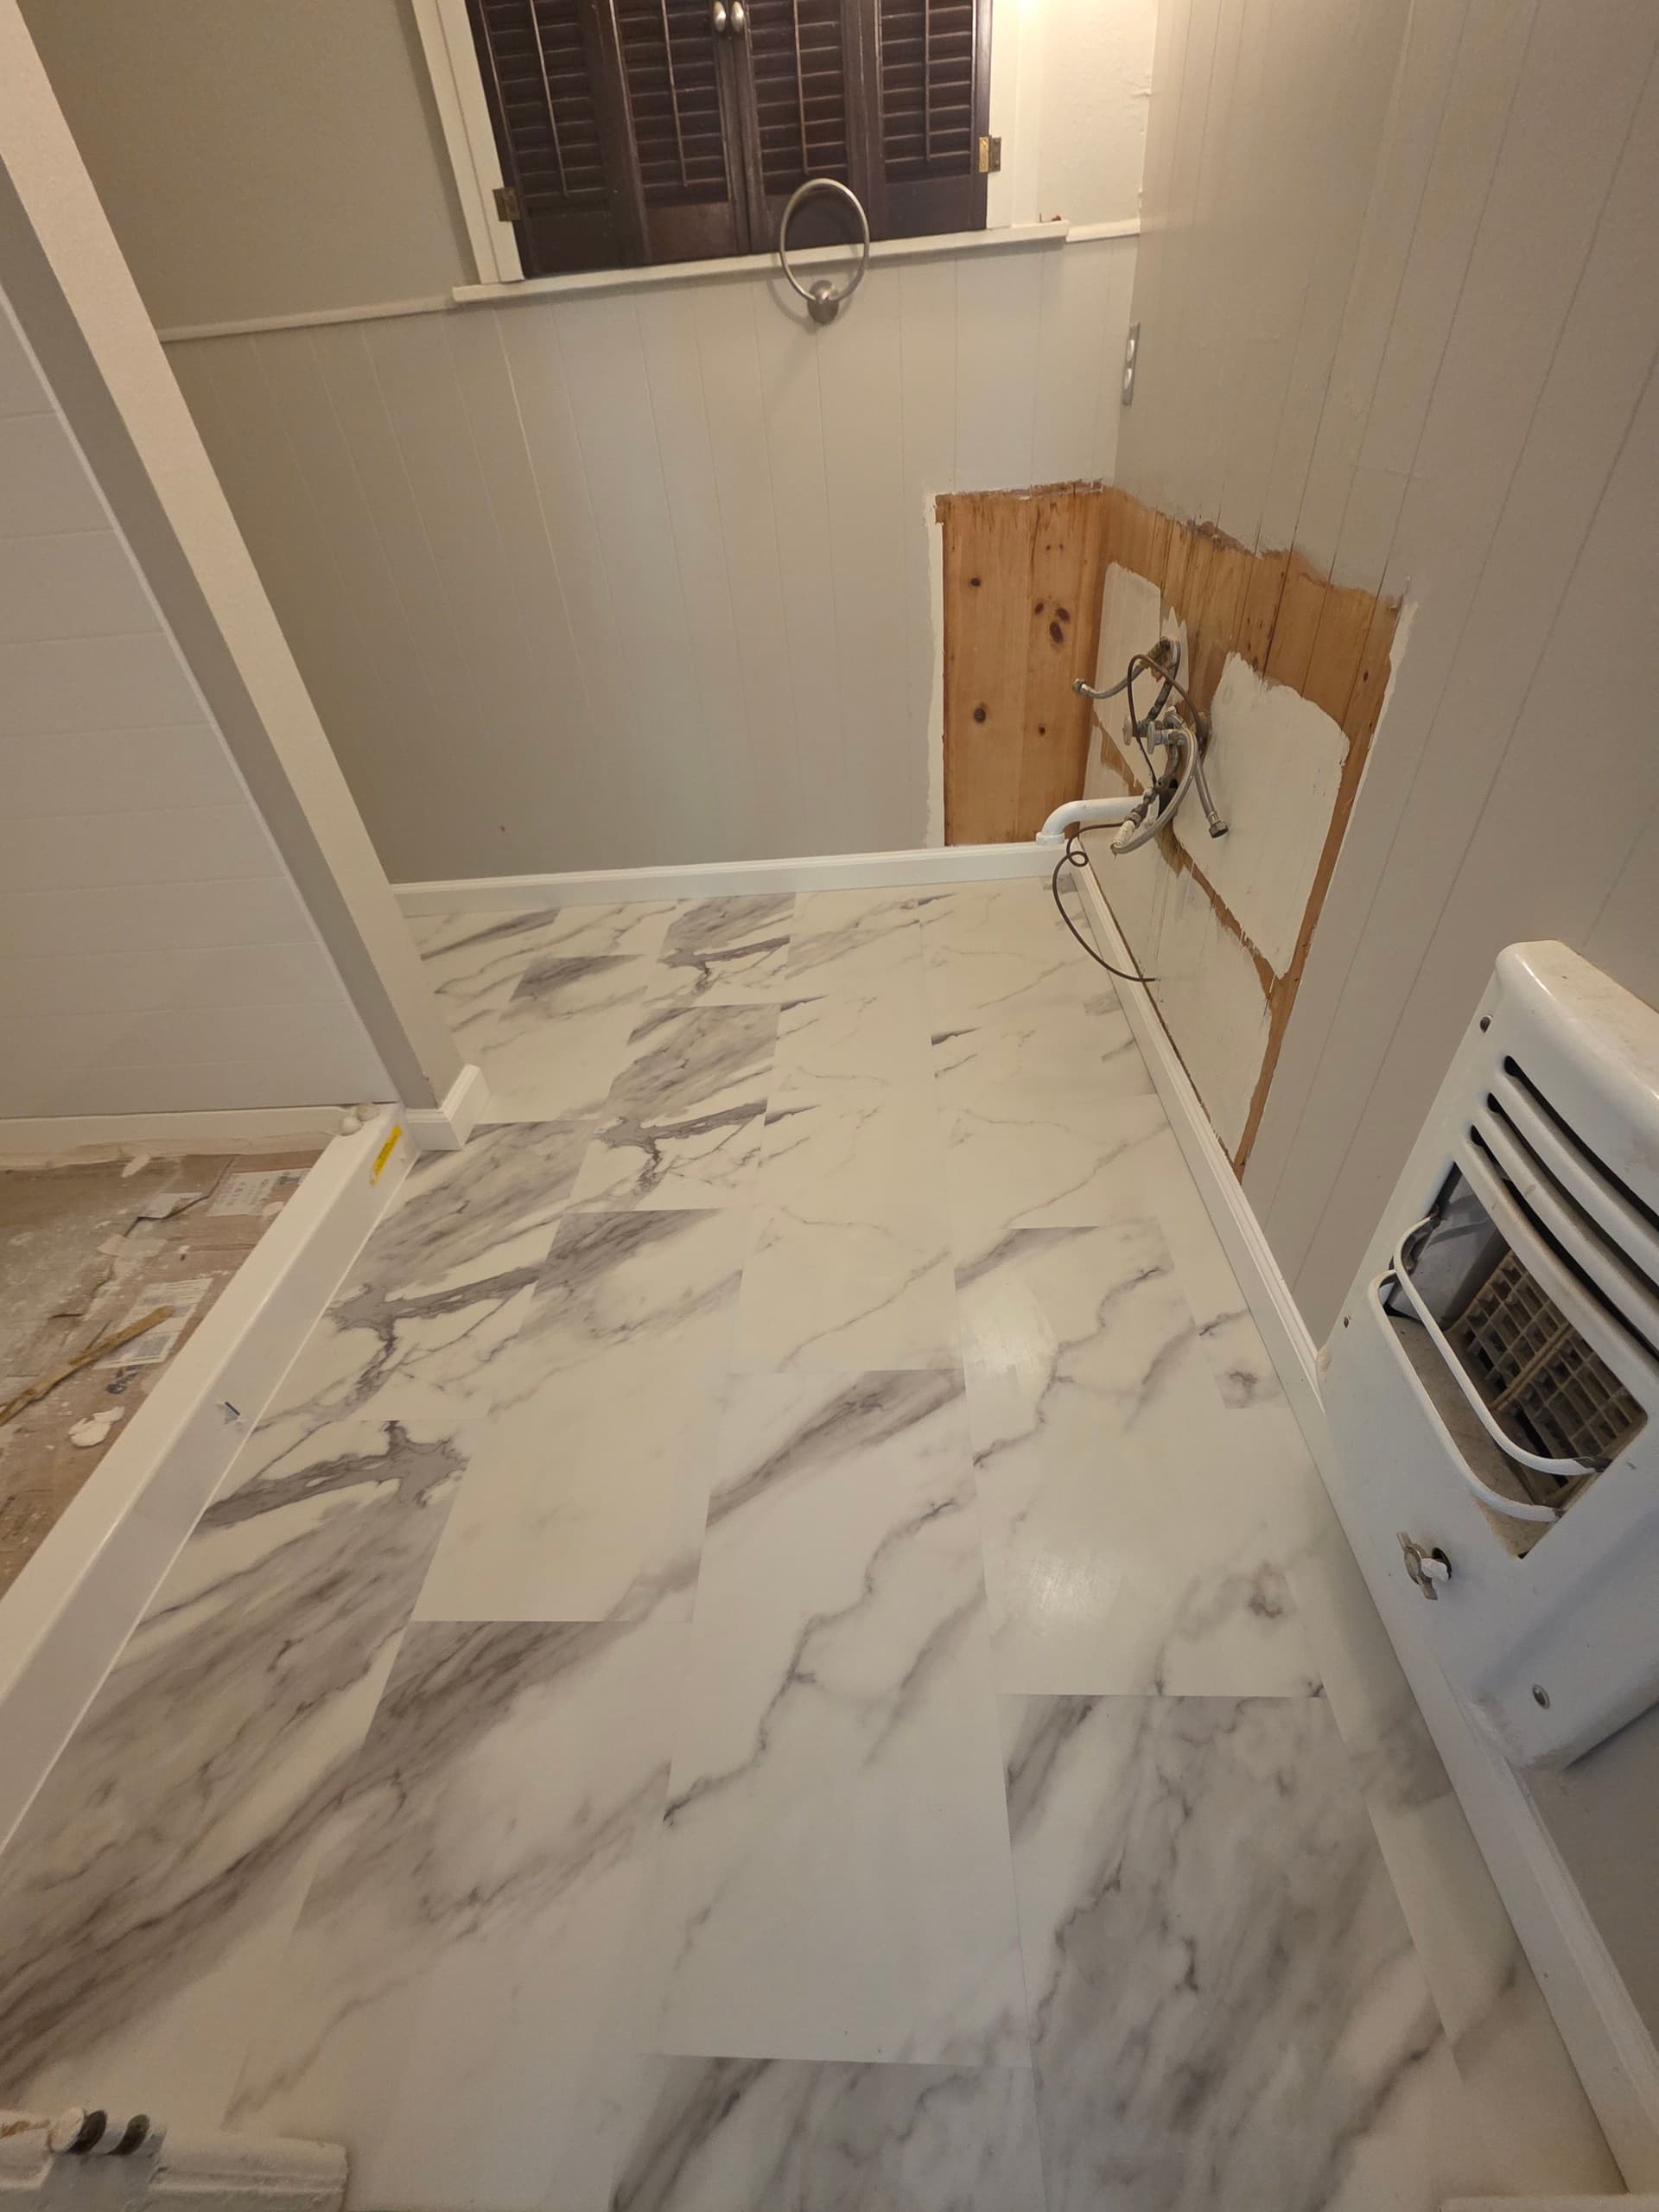
The two bathrooms were a separate scope of work. Old flooring was pulled out and the subfloor was prepped clean before we laid the new LVT. The marble-look luxury vinyl tile we installed has a high-gloss finish with gray veining running through it - a clean, modern look that holds up well in wet areas. LVT is one of the best choices for bathrooms because it handles moisture, it's easy to maintain, and it looks high-end without the price tag of real stone.
A job like this covers a lot of ground - hardwood refinishing and staining in the main living spaces, plus LVT installation in two bathrooms. Getting both done at once just makes sense. Less disruption, and the whole house gets updated flooring in one shot.