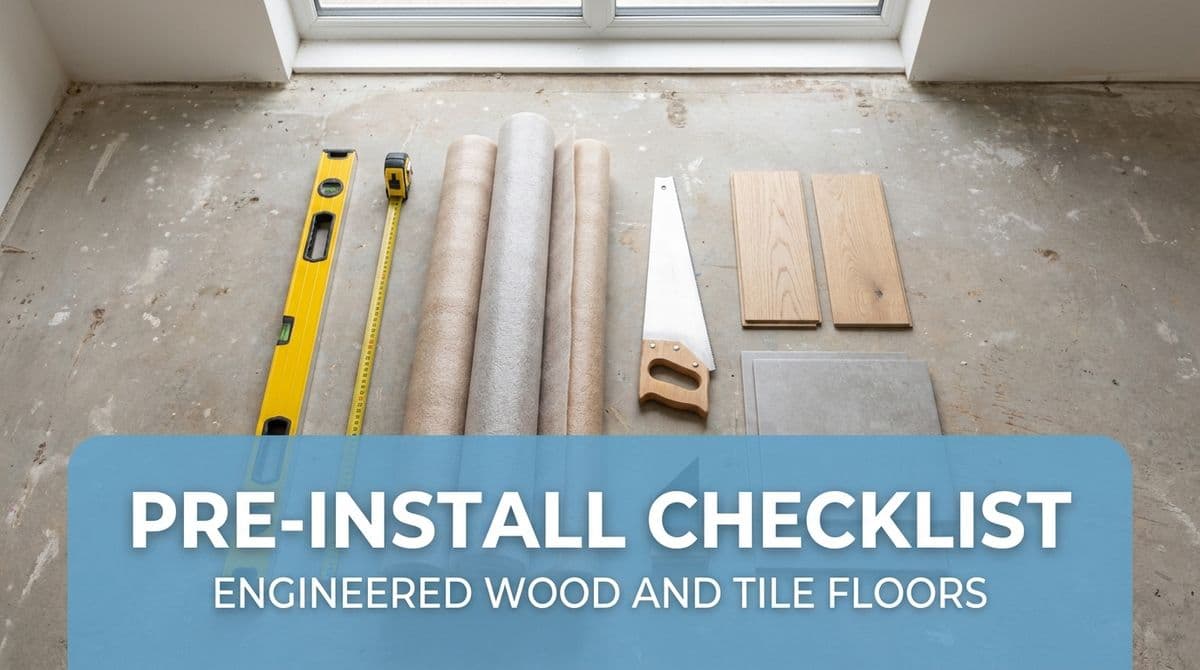
Pre-Install Checklist for Engineered Wood and Tile Floors
Getting ready to install engineered wood and tile in a new build? Use this simple checklist for baseboards, slab prep, and climate control before your installer arrives.
Why New Construction Floors Still Need a Pre-Install Checklist
We recently got a call from a customer — let’s call him Mark — who had just built a new home out in the country. The walls were up, the baseboards were already installed, and the concrete slab looked clean. He had 1,400 square feet of engineered wood and tile sitting in a barn on the property and was ready for us to “just come install it.”
As we talked, a few red flags started popping up: baseboards were already nailed on, the slab hadn’t been checked for flatness or moisture, and the air conditioning wasn’t running yet. All of those things matter a lot when you’re installing glued-down engineered wood and tile in a new build.
We walked Mark through a simple pre-installation checklist so that when we showed up, we could focus on quality installation instead of fixing avoidable problems. That conversation is exactly what inspired this guide.
Step 1: Deal with Baseboards and Trim Before Flooring Day
In Mark’s case, the builder had already installed the baseboards before any flooring went in — which is common, but not ideal. If you’re not careful, this one detail can add time, cost, and headaches.
Decide: Remove Baseboards or Add Quarter Round?
Here are the two main options we talked through with Mark:
- Remove and reuse the baseboards
This is the cleanest look. We carefully pop the baseboards off, install the flooring, and then reinstall the baseboards on top of the new floor. You get a nice, tight finish with no extra trim pieces. - Leave baseboards and add quarter round (shoe molding)
This is what we recommended if baseboards can’t be removed easily. Quarter round is a small trim piece that runs along the bottom of the baseboard to cover the expansion gap around the floor.
For glued-down engineered wood, we need a proper expansion gap along the perimeter. If the baseboards stay, that gap will be visible unless we cover it with quarter round.
Checklist: Baseboards & Trim
- Decide before install day whether you want baseboards removed and reinstalled, or quarter round added.
- Confirm you have enough matching quarter round or shoe molding if that’s the route you choose.
- Make sure any paint touch-up is scheduled after flooring is complete, not before.
Step 2: Prep the Concrete Slab the Right Way
When Mark told us the house was “just concrete,” he figured that meant we could simply glue the engineered wood down and start setting tile. In reality, new slabs are rarely flat enough or dry enough to skip prep.
Check Flatness, Not Just Cleanliness
Even in brand-new construction, concrete foundations usually have humps, dips, and waves. For glued-down engineered wood, most manufacturers require the slab to be flat within about 3/16" over 10 feet (or similar tolerances). Tile is even less forgiving — a high or low spot can cause lippage and cracks.
On Mark’s project, we planned to:
- Grind high spots on the concrete to bring them down.
- Patch low spots with floor-leveling compound.
- Vacuum the entire area so adhesive and thinset bond properly.
If you walk your slab and feel “speed bumps” under your feet or you see shadows where light hits the floor, you almost certainly need prep.
Don’t Skip Moisture Testing
New slabs may look dry, but they often still have moisture moving up through the concrete. That’s a big concern for engineered wood and can also affect tile adhesives.
Common moisture checks we recommend:
- Calcium chloride test – Measures moisture emission from the slab over 24 hours.
- In-slab RH probes – Small holes are drilled in the slab and humidity is measured inside.
- Manufacturer-approved electronic meters – Quick screening to see if further testing is needed.
If readings are too high, we may need a moisture barrier or specialized adhesive before installing engineered wood.
Checklist: Concrete Prep
- Have the slab cleared of trash, mud, and construction debris.
- Plan for grinding and patching to achieve required flatness for wood and tile.
- Allow time and budget for proper moisture testing and any needed moisture mitigation.
Step 3: Get Climate Control Running Before Install
One of Mark’s big questions was about air conditioning: the system wasn’t hooked up yet, and he wondered if that would be a problem. For engineered wood, the answer is yes — it’s a big problem.
Why Temperature and Humidity Matter
Engineered wood is more stable than solid hardwood, but it still expands and contracts with changes in temperature and humidity. If we install it in a hot, humid “construction climate” and then you turn on the AC a month later, you can end up with:
- Gaps between boards as they shrink.
- Cupping or crowning if moisture conditions change rapidly.
- Adhesive issues if the glue cures in the wrong temperature range.
Most manufacturers specify a “normal living condition” range — typically around 60–80°F and 30–50% relative humidity — that should be maintained before, during, and after installation.
Acclimating the Wood
We told Mark that even though his wood was stored on the property, it still needed to be brought into the house and acclimated in the actual living conditions. That usually means:
- Running the HVAC system (or at least temporary units) for several days.
- Storing the engineered wood inside the home, out of the barn.
- Allowing the wood to sit in the space per the manufacturer’s recommendation before installation.
In his case, a temporary window unit or portable AC to stabilize conditions before install was a smart workaround until the main system was ready.
Checklist: Climate Control
- Have the HVAC system running (or temporary AC) at least a few days before install.
- Keep interior doors and windows closed to maintain consistent conditions.
- Move engineered wood inside the home to acclimate, never store it long-term in a barn, garage, or open porch.
Bonus: Coordinating Trades & Avoiding Common New Build Mistakes
New construction is a juggling act. What made Mark’s project smoother was that we talked early, before we ever loaded the truck. Here are a few patterns we see over and over:
Common Mistakes We See
- Painting after flooring – Overspray and paint drips on new wood or tile.
- Heavy trades walking on fresh floors – Appliances, cabinets, and stonework dragged across brand new surfaces.
- Missing transitions – No plan for where wood meets tile or concrete in doorways.
Simple Ways to Stay Ahead
- Schedule flooring after major trades (plumbing, electrical rough-in, drywall, and most painting).
- Make sure we know where tile vs. wood will go and what transitions you want between them.
- Protect finished floors with builder’s paper or protective board if other work must continue afterward.
Ready for Your Engineered Wood and Tile Install?
When we finished walking Mark through this checklist — baseboards and trim, concrete prep, and climate control — he had a clear plan: remove the baseboards before we arrived, get the AC running (even if with a temporary unit), and give us access to a clean, empty slab. That prep work meant we could focus on installing his engineered wood and tile the right way the first time.
If you’ve got flooring waiting in a new construction home, taking these steps before we show up can save you time, money, and a lot of stress — and it gives your new floors the best chance to look great and last for years.