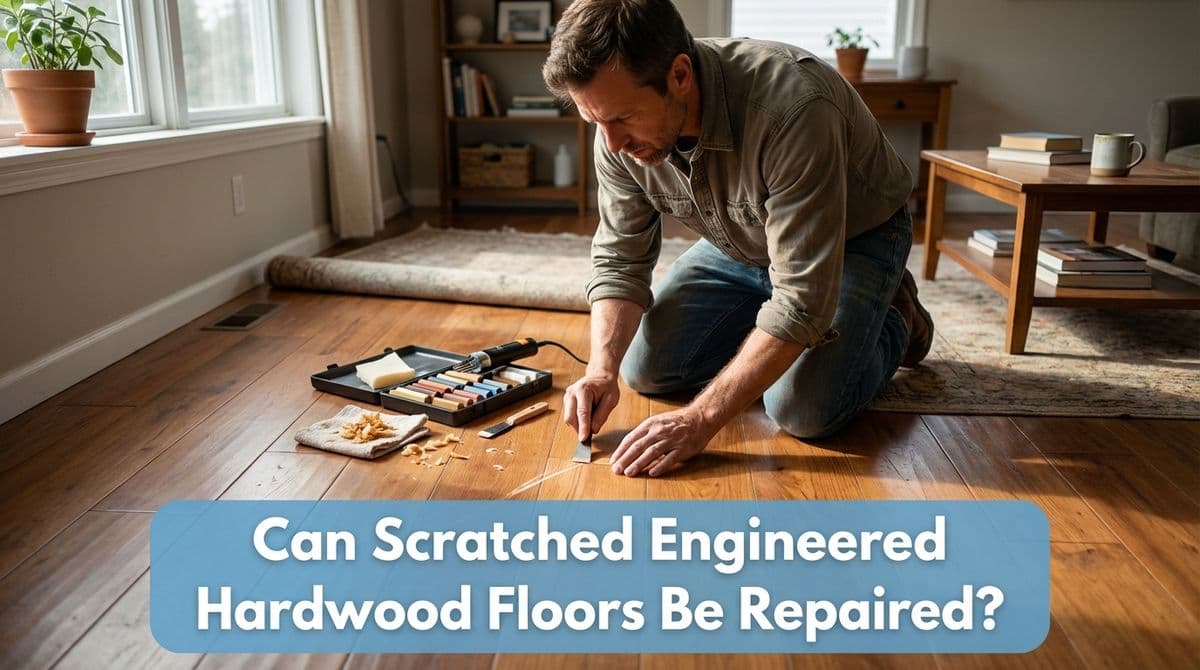
Can Scratched Engineered Hardwood Floors Be Repaired?
Engineered hardwood scratched up? Learn when you can repair, recoat, or refinish light to deep scratches—and when board replacement is the smarter option.
Can Scratched Engineered Hardwood Floors Be Saved?
We recently got a call from a customer — let’s call him Mark — who had engineered hardwood floors with “a bunch of surface scratches and moderate scratches,” all clustered in an area under about 10 square feet. He’d dropped a few things in the hallway and dragged a chair one too many times, and now those marks were all he could see when he walked into the room.
As we talked through it, we asked Mark the same question we always start with: “How deep are the scratches?” He told us some were light surface marks, but others were deep enough that he could clearly feel them with his fingernail. That one detail changed the options we recommended — and it’s the same way we’d walk any homeowner through this kind of issue.
If you’re staring at scratched engineered hardwood and wondering, “Can this be repaired or refinished?” the short answer is: it depends on the depth of the scratch and the thickness of your wear layer. Let’s break down what that means in practical, homeowner-friendly terms.
First Step: Figure Out What Kind of Scratches You Have
When someone calls us about scratched engineered hardwood, we mentally sort the damage into three levels:
- Light surface scratches – You can see them, but you barely feel them with your fingertip or nail.
- Moderate scratches – You can clearly feel them with your fingernail, but the wood underneath doesn’t look gouged out.
- Deep scratches or gouges – You can catch your nail strongly, see a groove, or even see a different color where the finish and stain are completely removed.
With engineered hardwood, there’s a thin top layer of real wood (the wear layer) over a layered core. That wear layer might be 0.6 mm on the thin side, or 4+ mm on higher-end products. The thinner that layer is, the less aggressive we can be with sanding and refinishing.
So when Mark told us he could definitely feel some of the scratches with his fingernail, we knew we were dealing with a mix of light and moderate damage — and that meant a mix of repair options.
Options for Light Surface Scratches
For those faint, mostly-in-the-finish scratches, you usually don’t need a full-blown refinishing job. Here are the approaches we often recommend and use:
- Clean and inspect first
Always start with a proper cleaning: a vacuum with a soft-brush attachment, then a cleaner specifically made for hardwood or engineered wood. Sometimes what looks like scratching is actually residue or scuffing on the finish. - Blending with touch-up markers or stain pens
For color-only scratches (you don’t feel a groove), a color-matched wood touch-up marker can camouflage them very well. We test in an inconspicuous area first, then lightly run the marker along the scratch, wipe off excess, and let it dry. - Buffing and re-coating the finish
When a whole area has light, hazy scratches, we can often do a screen and recoat. That means we lightly abrade the existing finish, vacuum and tack-cloth clean, then apply a fresh topcoat. This does not remove much material, so it’s usually safe for most engineered products.
If your scratches look similar to what you’d get from everyday foot traffic, pets, or sliding a light chair, chances are you’re in this lighter category and can avoid a full sanding.
What About Moderate Scratches You Can Feel?
Moderate scratches — like the ones Mark was describing — are the tricky middle ground. You can definitely feel them, and the color may look lighter where the finish is broken. Whether these can be “fixed” without full refinishing depends on two things:
- The thickness of the wear layer
- The type of factory finish (e.g., aluminum oxide, oil, UV-cured urethane)
Here are the typical options we walk customers through:
- Localized touch-up and blending
For a small area (like Mark’s ~10 square feet), we can often improve the look by carefully filling, coloring, and sealing the scratches. We might use a soft wax fill stick or putty, then match the stain and topcoat as closely as possible. You’ll usually still see evidence of damage if you look closely, but from standing height it can blend in nicely. - Screen and recoat plus spot repair
If moderate scratches are scattered in a room, we sometimes do targeted spot repairs first, then screen and recoat the entire floor or area. The fresh topcoat helps visually blend old and new repair work. - Full refinishing (if wear layer allows)
This is where that wear layer really matters. If you have at least 3 mm of real wood on top, we may be able to do a light to medium sanding and completely refinish. With a thinner wear layer (under 2–3 mm), we usually do not recommend full sanding; it’s too easy to sand through to the core.
We explained to Mark that the goal with moderate scratches is often camouflage, not perfection — especially on engineered floors that can’t handle multiple heavy sandings.
Deep Scratches and Gouges: When Refinishing Isn’t Enough
Deep grooves, dog scratches that cut down into the wood, or damage from moving heavy furniture can be beyond what a light buff and coat can fix. In those cases, we usually look at:
- Board replacement – If the damage is concentrated in one or two boards, the cleanest fix is often to carefully remove and replace those boards with matching material.
- Strategic refinishing – If you have a thick wear layer and the floor was originally site-finished (stained and sealed after installation), a full sand and refinish can sometimes erase even deep scratches.
- Living with some character – On factory-finished engineered floors with a thin wear layer, sometimes the most realistic option is to soften the look of the damage and accept a bit of “patina” until you’re ready for a larger project.
We always try to be honest about this: not every deep scratch on engineered hardwood can be made to disappear completely, especially on thinner products.
How to Protect Your Floors After Repair
Once we help someone like Mark improve the look of their engineered hardwood, we always share a few habits that make a huge difference over time:
- Use felt pads under chair and furniture legs (and replace them as they wear).
- Keep doormats at all exterior doors to trap grit before it hits your floors.
- Vacuum or sweep regularly with soft-bristle tools to avoid grinding dirt into the finish.
- Avoid harsh cleaners, steam mops, or anything not labeled safe for hardwood/engineered floors.
- Pick up heavy furniture instead of dragging it when you rearrange a room.
Engineered hardwood can last for many years and still look great with the right care — and in many cases, those “ruined” areas can be improved much more than most homeowners expect.
Not Sure Which Option Fits Your Floor?
If you’re like Mark and you’re not sure whether your scratches are light, moderate, or deep, it often helps to have a pro take a look. We can usually tell pretty quickly:
- What type of engineered flooring you have
- How thick the wear layer is
- Whether repair, recoating, or refinishing makes the most sense
Every floor — and every scratch pattern — is a little different. But with a good assessment and the right repair approach, engineered hardwood doesn’t have to be a “one and done” product when it comes to scratches.